


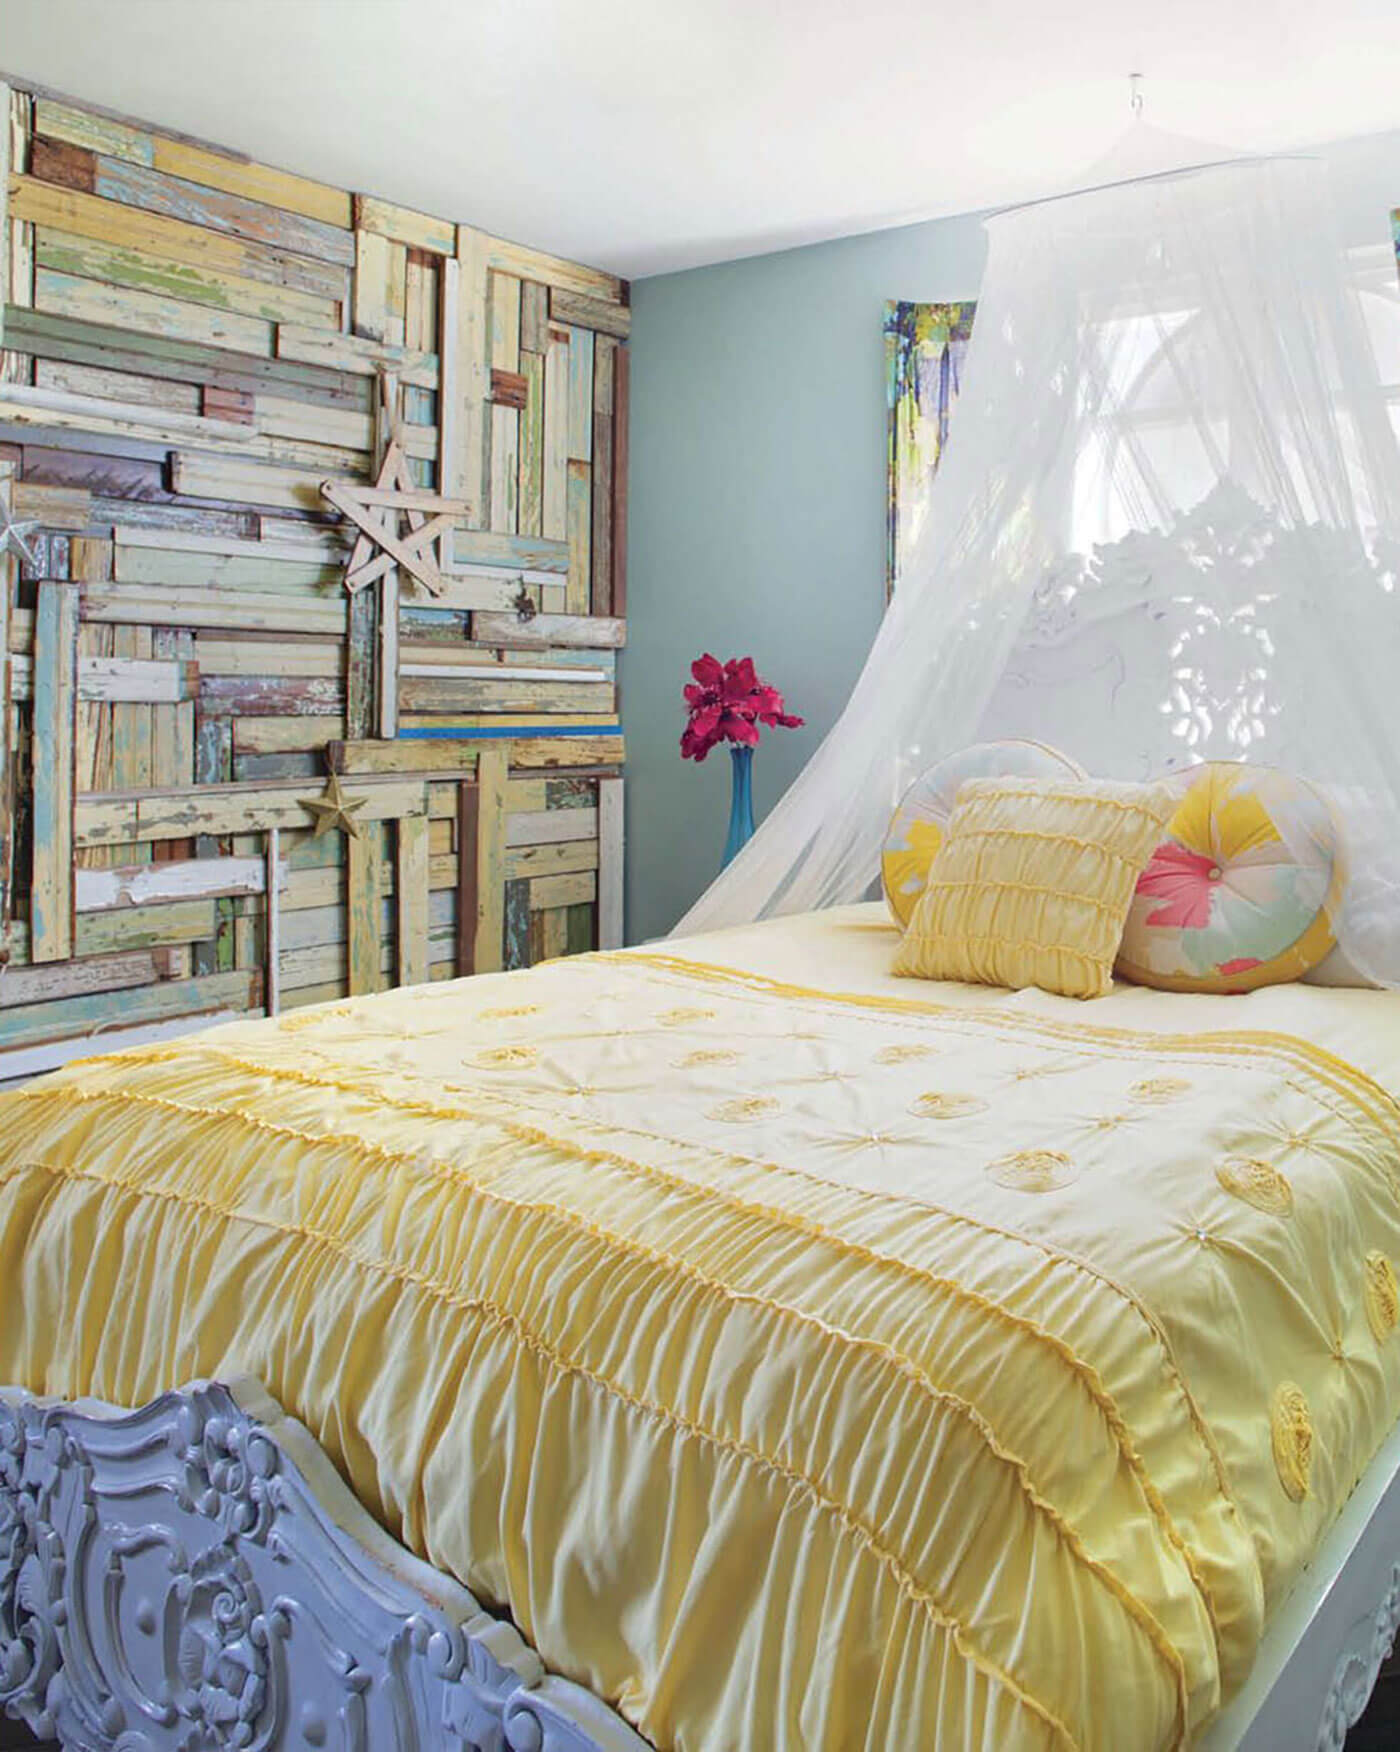
There’s a wall paneling stye to appeal to any vintage style, whether that’s the fresh farmhouse look of shiplap or the traditional elegance of picture-frame molding. Paneling is a great way to add texture to any space, but this task is often a challenge for DIYers because of the precise measurements necessary and the scale of the project can be daunting.
This reclaimed wood wall, however, is perfect for the DIY home decorator! You’ll need a few power tools and there’s some prep work involved, but the plan-as-you-go approach to creating this scrap wood wall cuts out the anxiety that comes with perfect-or-else projects.

What you’ll need:
- Wood scraps in varying sizes
- Table saw
- Level
- Ladder
- Hammer
- Nail gun and kit
- Nail remover tool (for potential mistakes)
What you’ll do:
1. Gather your wood. Jem says, “You can use any age or type of wood. You can use a plethora of pallets, or if you have the money, you can buy new wood and paint and stain it to your preference.” She suggests collecting a bundle of salvaged wood from different sources to give the wall natural depth and interest. If you gathered larger pieces, like old doors, cut them to the size you’d like.
2. Prep the wood by gently washing it to remove dirt and mold (especially if it’s old or reclaimed) and letting it dry completely.
3. Paint your wood pieces (or keep them natural). Then protect each piece with at least three coats of polyurethane. Jem notes, “Polyurethane tends to stain lighter woods yellow if they’re exposed to daylight for 4 to 6 hours at a time. [Do your] own research if you care about the sun changing the color of the wood over time.” Polycrylic is a water-based alternative that won’t yellow the wood.
4. Turn on some tunes and get nailing. Jem uses the level to make sure her pieces are straight and then nails them in place with her nail gun. She says, “You can create so much beauty with these simple tools.”