

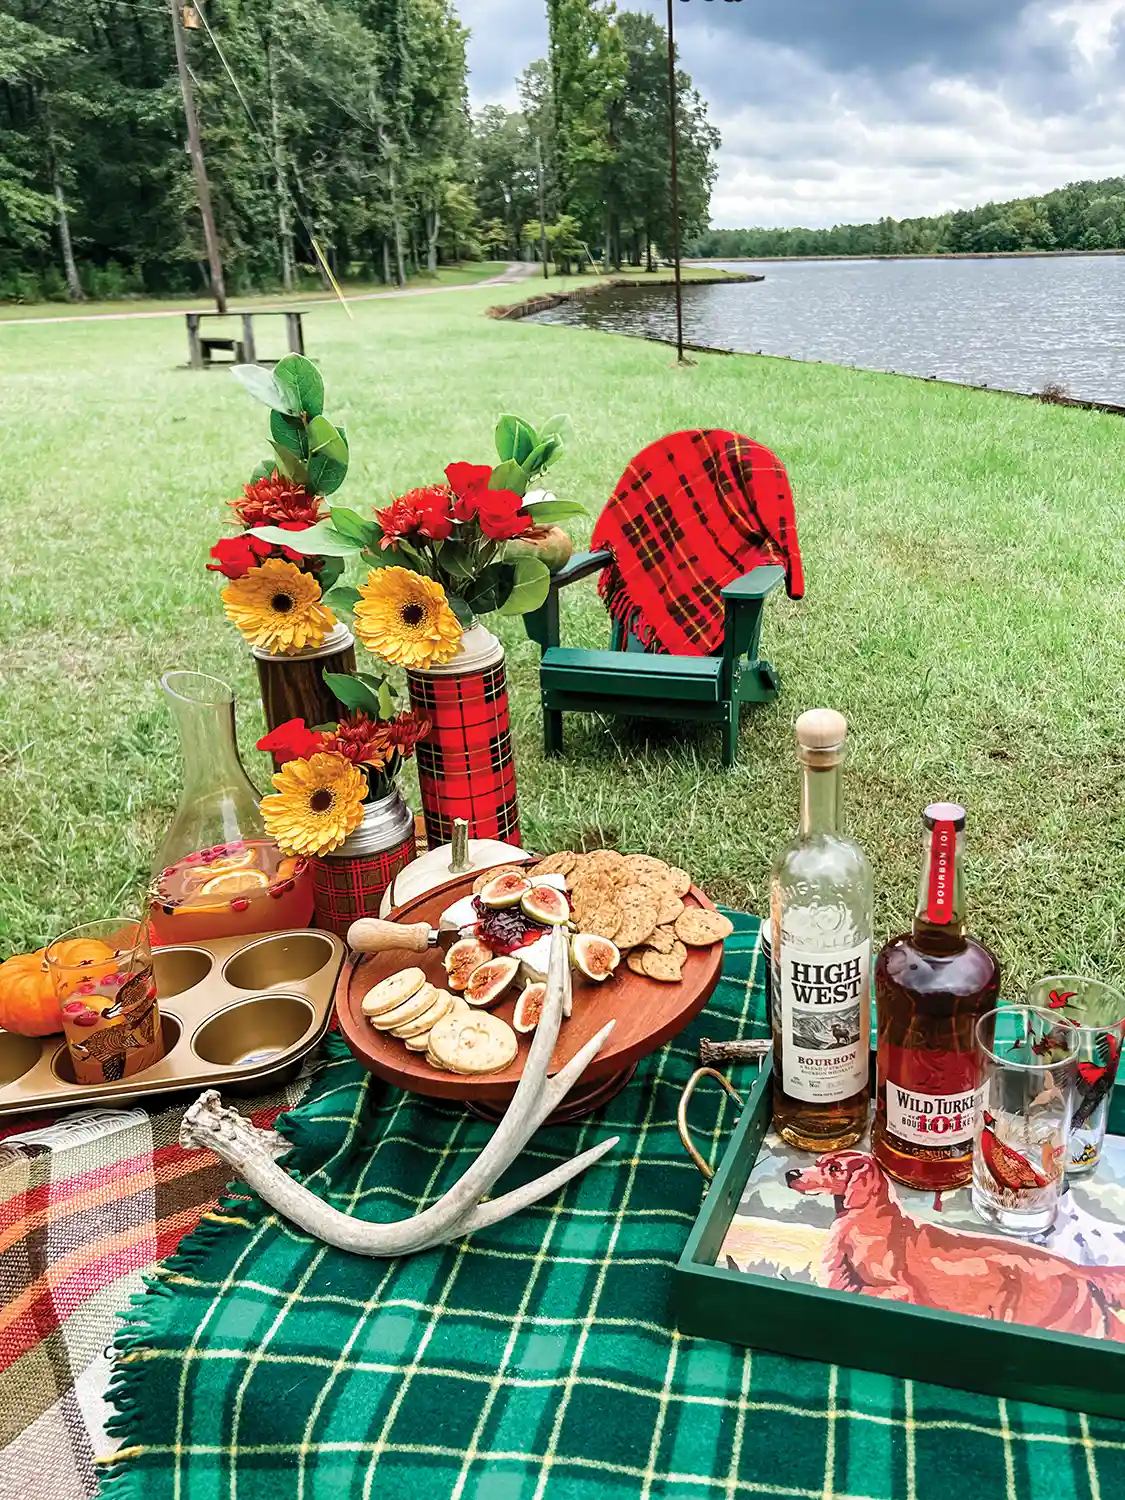
Make your own vintage-inspired drink trays
Our first ever Brand Ambassador, Stacie Gilbert shares her terrifically fun DIY idea! You can follow along with Stacie on Instagram HERE and watch for her print articles in each magazine in 2026.
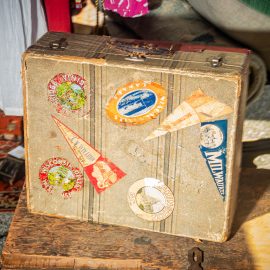
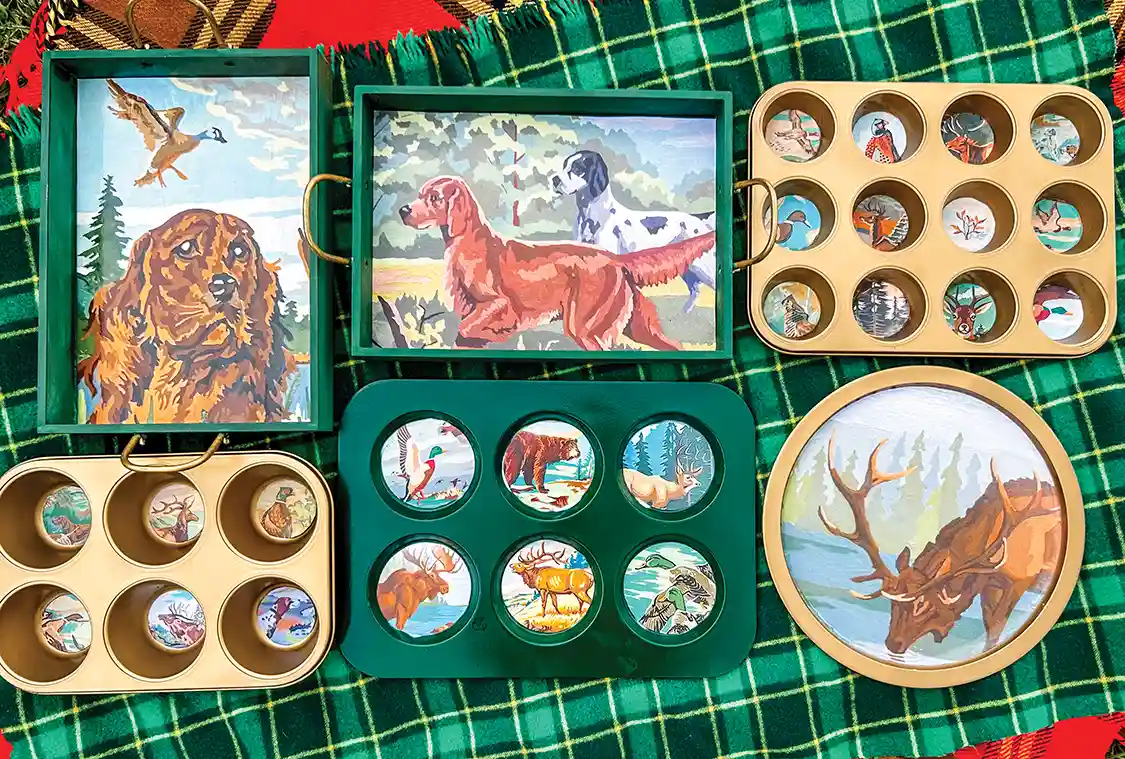
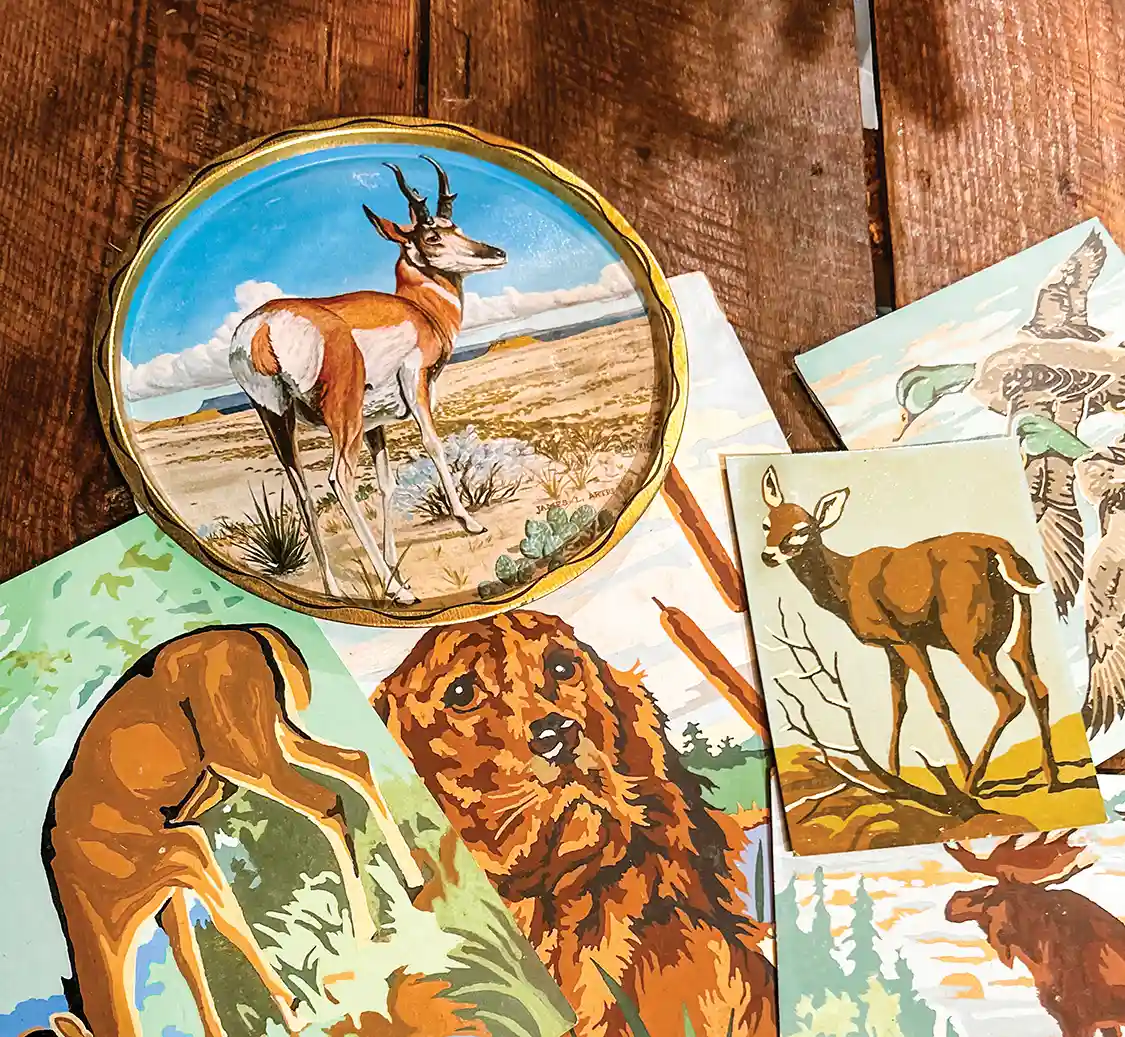
As a vintage collector, one of my favorite collections is paint by number scenes from the mid-century. I love the bright colors and find myself thinking about the kids and adults that must have been so proud to finish each one. The animals and landscape scenes are my weakness.
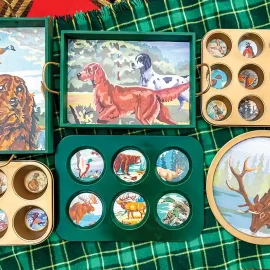
Souvenir drink trays depicting paint by number wildlife scenes are another item on my radar these days. But why not make your own paint by numbers and cut them to fit into muffin tins, trays, or any other items you have at home that need an upcycle!
Shop Your Home First
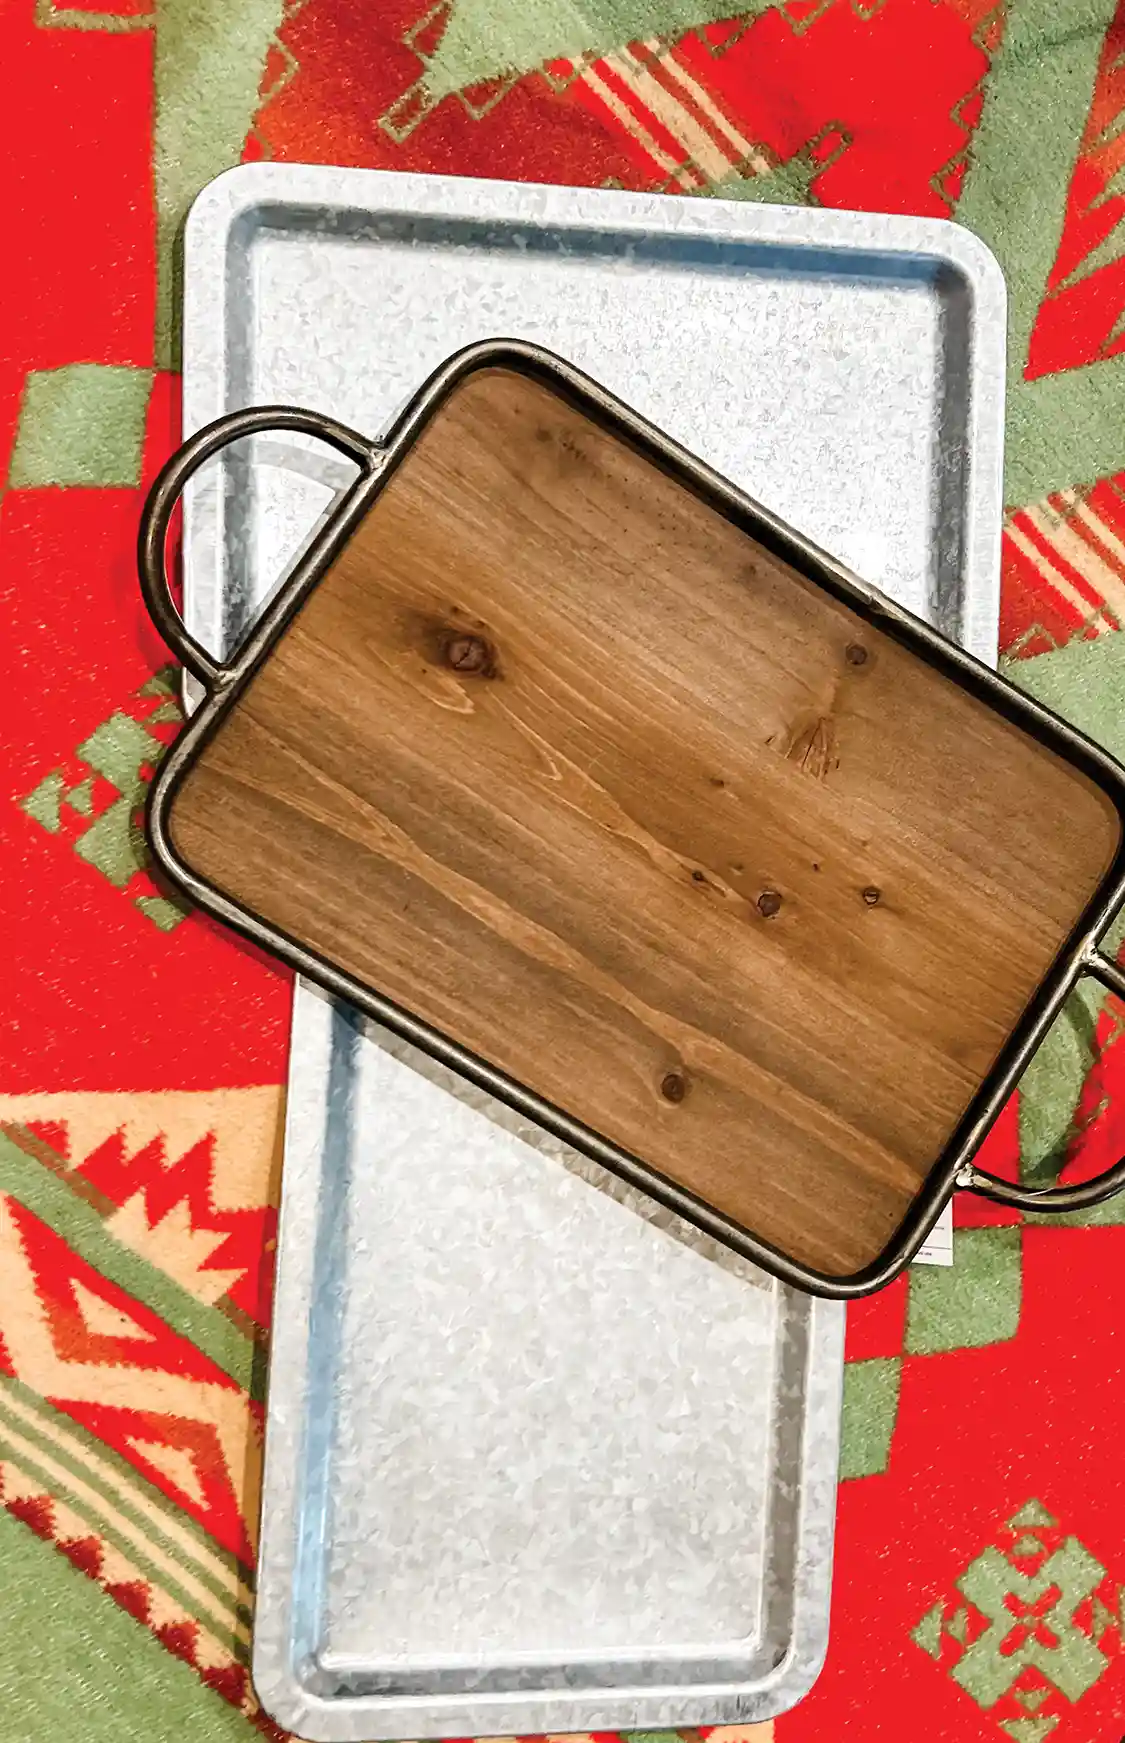
Look through those cabinets for items you no longer use, like wooden trays or muffin tins. You probably have something you can breathe new life into. Don’t forget that thrift stores are a perfect place to find unique items. Craft stores also have great wooden and metal trays that are 50% off when they are running sales. The whoopie pie/muffin top pans are great for holding larger wineglasses and tumblers, but can be a bit pricier ($15). You can always opt for the smaller muffin tins, which will hold smaller vintage glassware. Be sure to measure your glassware before you shop for your trays and pans!
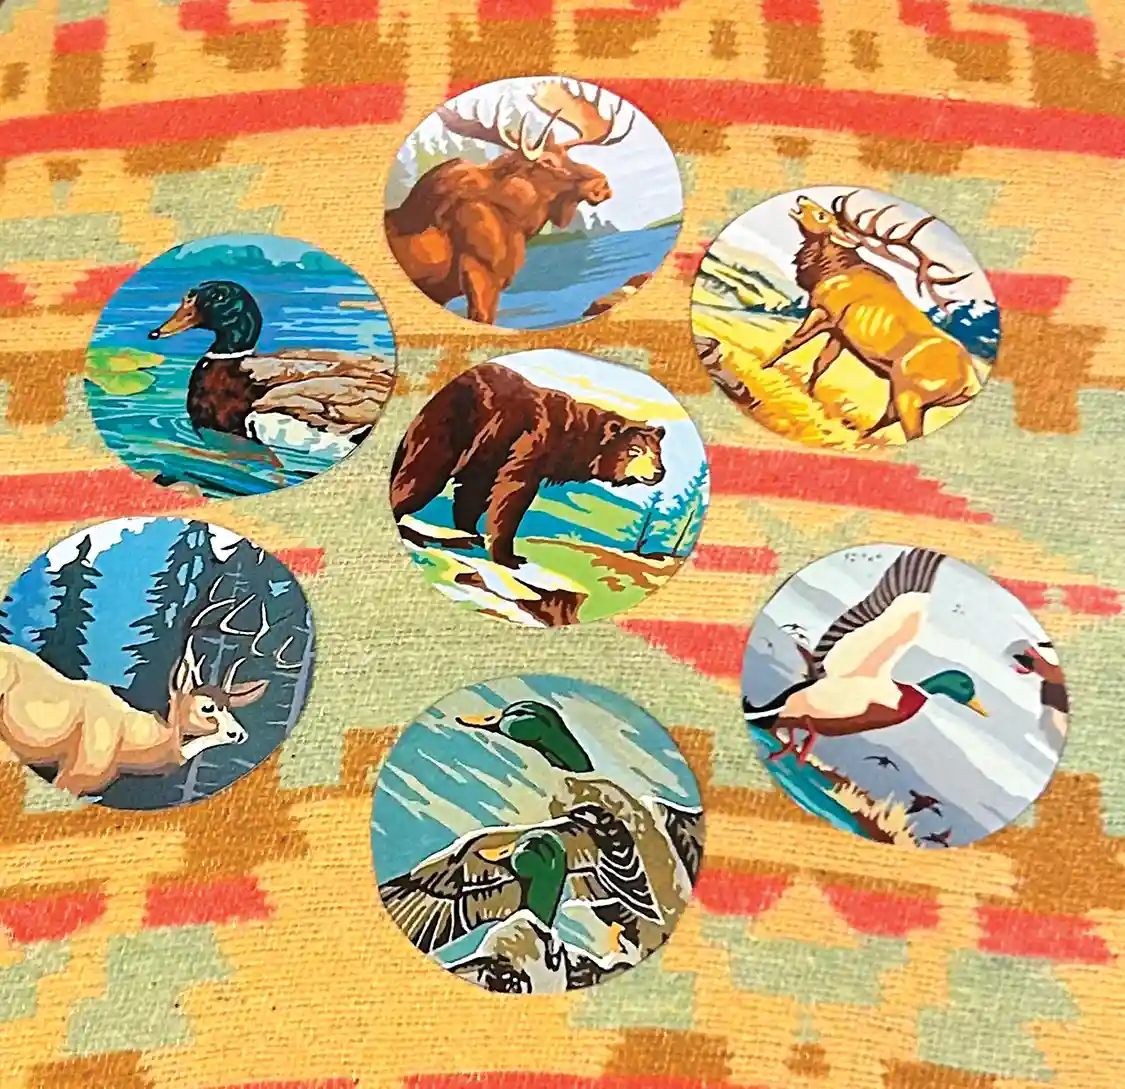
Search and Print Some Amazing Paint by Numbers
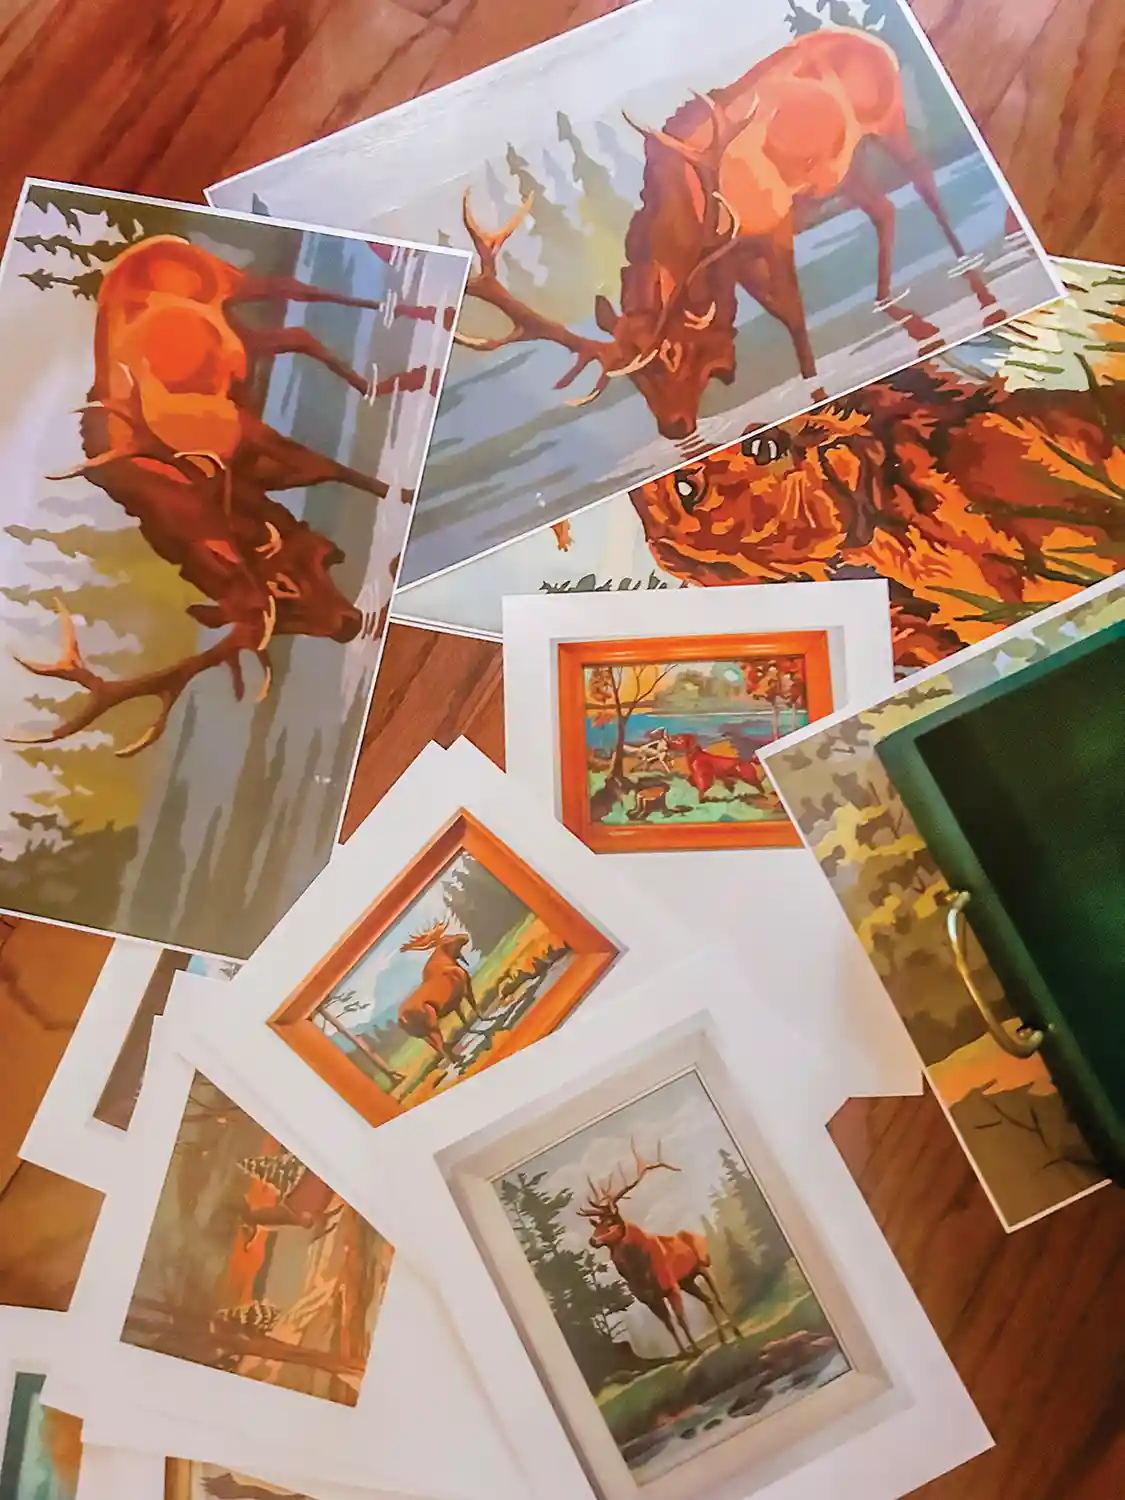
You can find inspiring print by number images online that you can print at home. I entered key phrases such as “paint by number hunting dogs” and looked for the clearest images available. Most of my images came from the Paint by Number Museum website. But you can also find them by searching: Etsy for clipart, collage downloadable, paint by number printables, etc.
If you print them at home, use a heavier weight paper for greater durability. I typically use UPS printing and have been happy with their pricing, quality, and quick turnaround. It’ll take a little trial and error when choosing which size prints will fit with your trays and tins; for example, an 11 x17 inch print works best for a 10.5-inch round tray, but you’ll get the hang of it as you go along.

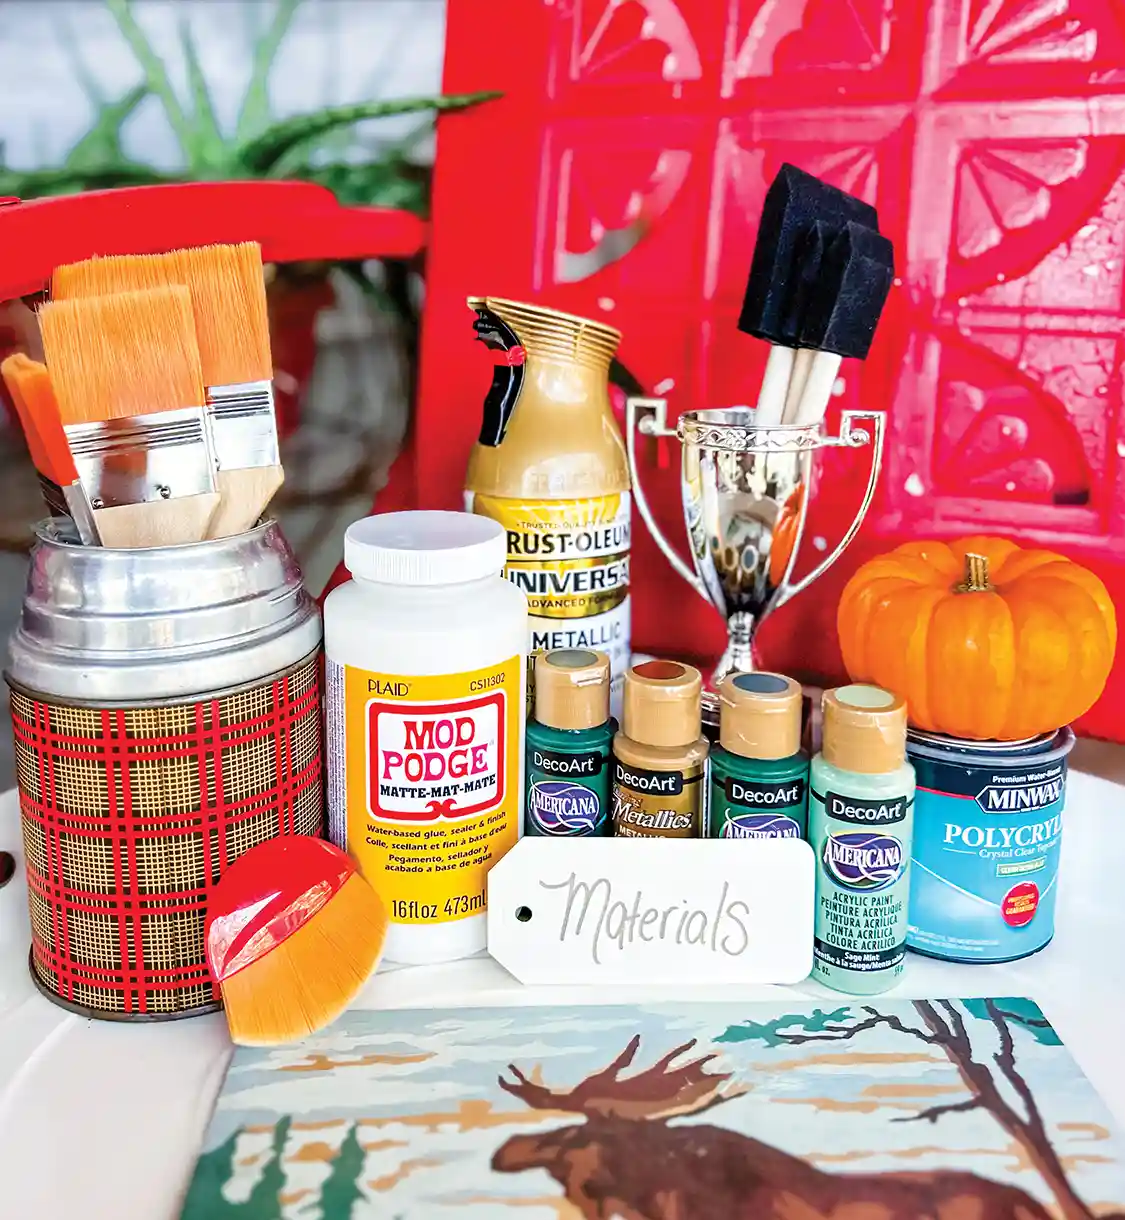
Gather Materials
- Paint *
- Mod Podge Matte-Mate Paint
- Foam Brushes
- Sanding Block or Sandpaper (80-120 grit)
- Scissors
- Pen/Pencil
- Dish Towel/Cloth
- Spray Clearcoat **
- Trays
- Paint By Number Prints
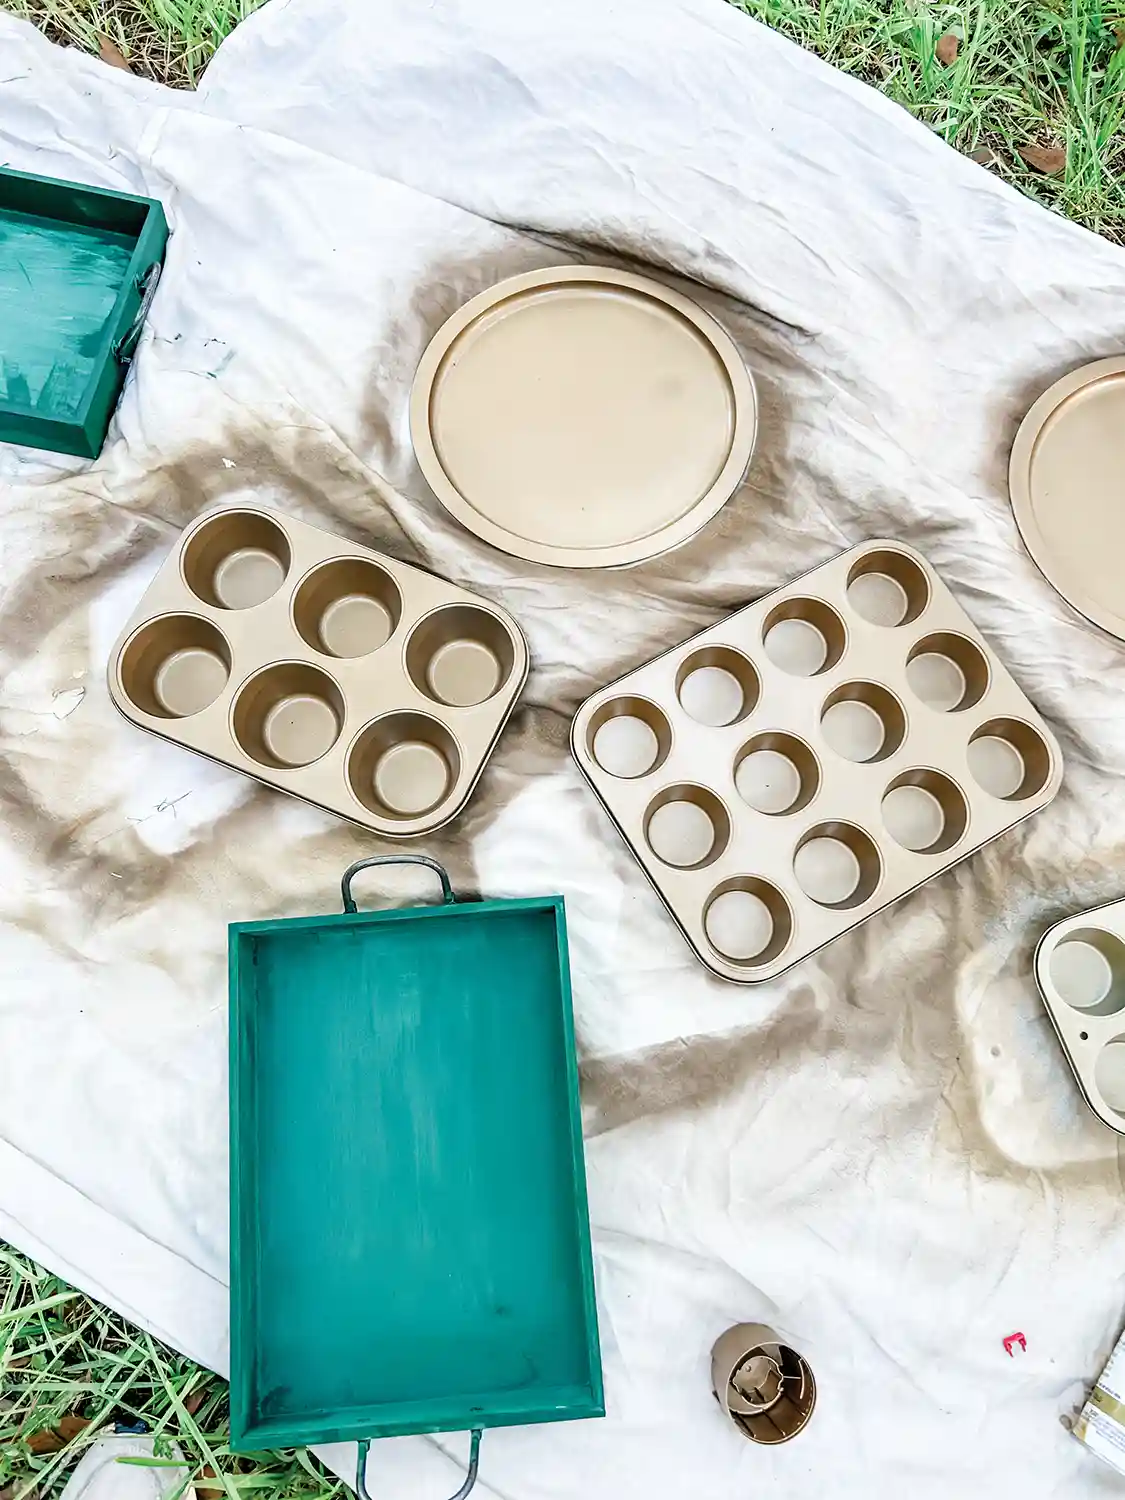
*Use spray paint for metal trays/tins and acrylic paint for wooden trays. I used Krylon Colormaxx Paint + Primer in Satin Hunter Green, Rust-Oleum Metallic Paint and Primer in One in Pure Gold and Metallic Champagne Bronze. The acrylic colors were DecoArt Hauser Dark Green, Glorious Gold, and Sage Mint.
**I used Rust-Oleum Clear Finish Lacquer because I had it on-hand, but next time I will try a more matte clear coat.
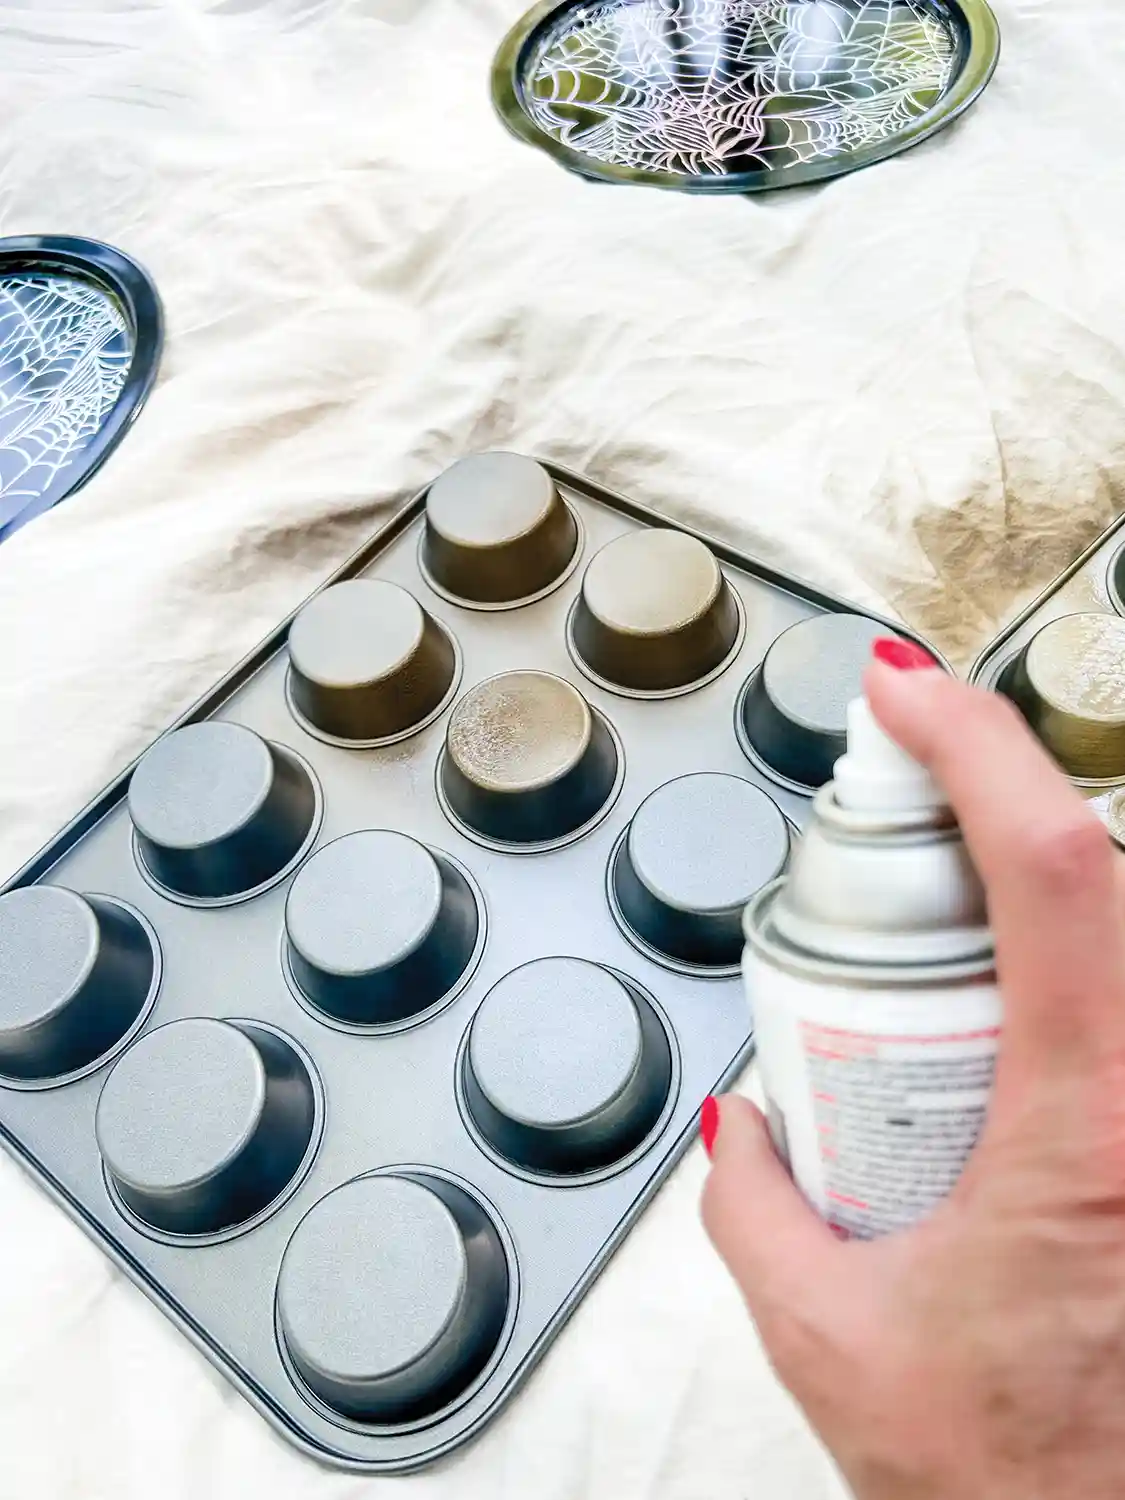
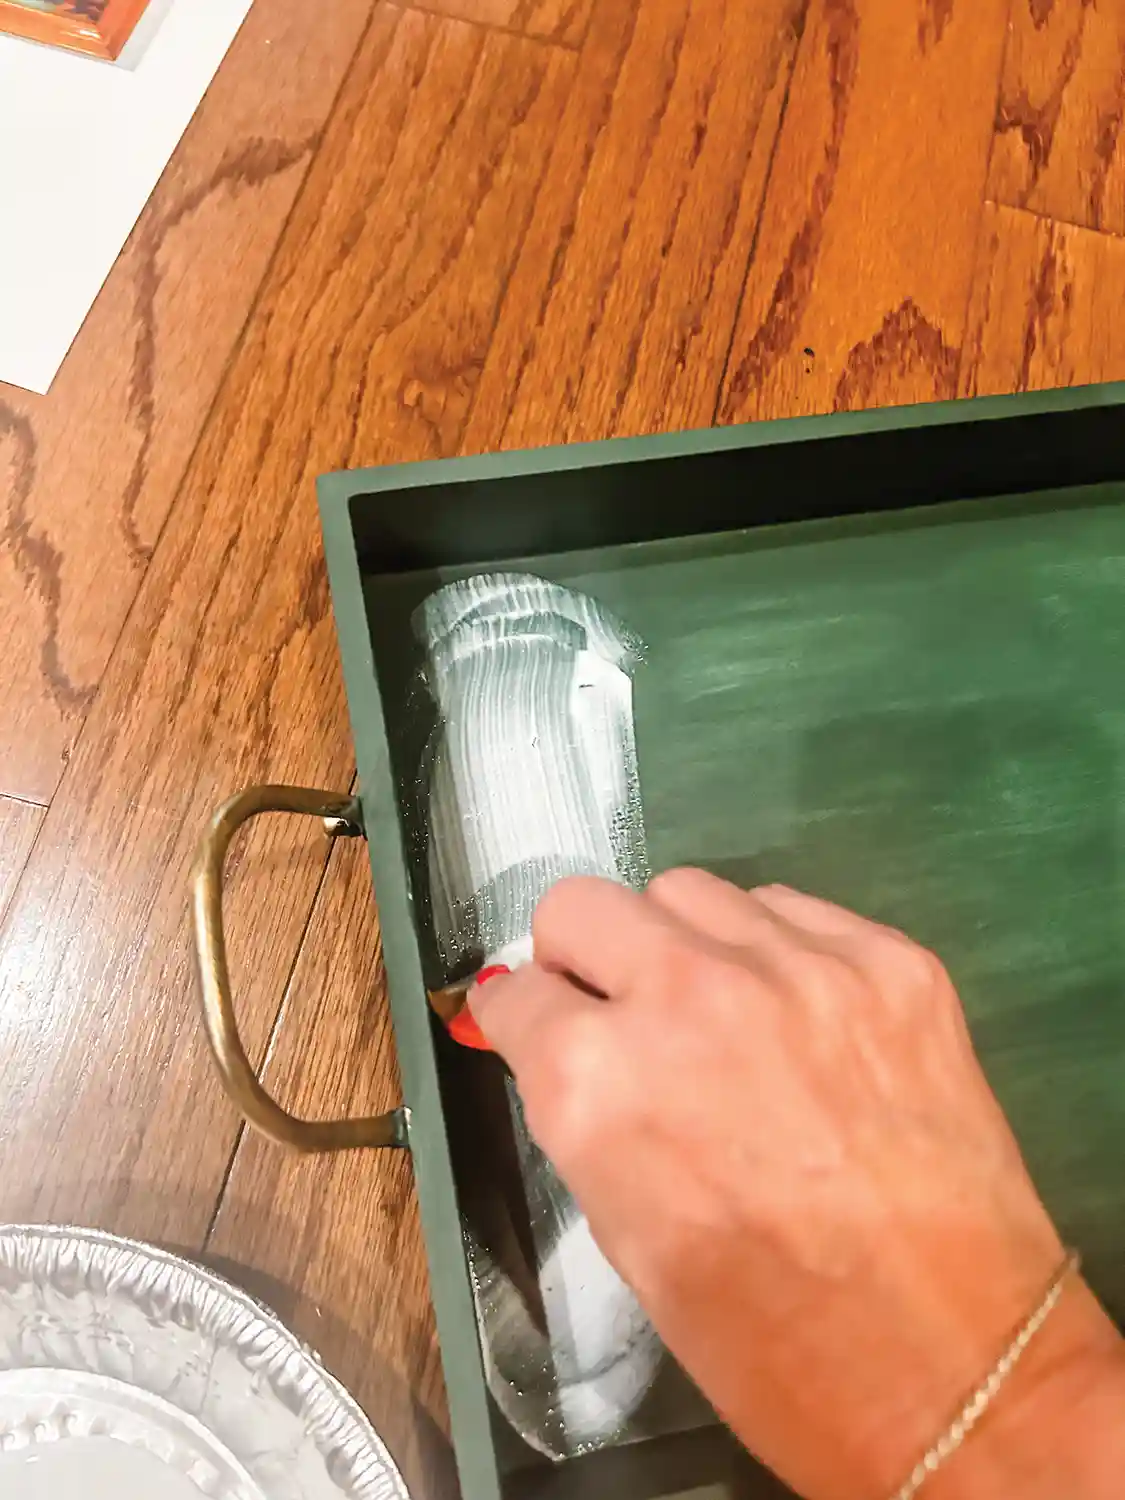
Sand and Paint
If you are using a wood tray, you can paint it with acrylic paints in any color you choose. If you are using metal trays or muffin tins/whoopie pie tins, you must sand the metal before spray painting. I tried to skip this step once and the paint peeled in spots. If you use a newer muffin tin, it is likely coated with a non-stick finish, so a brisk once-over with the sanding block will help the paint stick. And don’t forget to do the insides of the tins, as well, and all around the openings and the edges of the tins.
Wipe the tray clean with a cloth before you spray paint.
Make sure you paint in very thin layers, let it dry and then repaint. This may take a day or two to let it dry properly, but will help keep your tray from peeling or chipping.
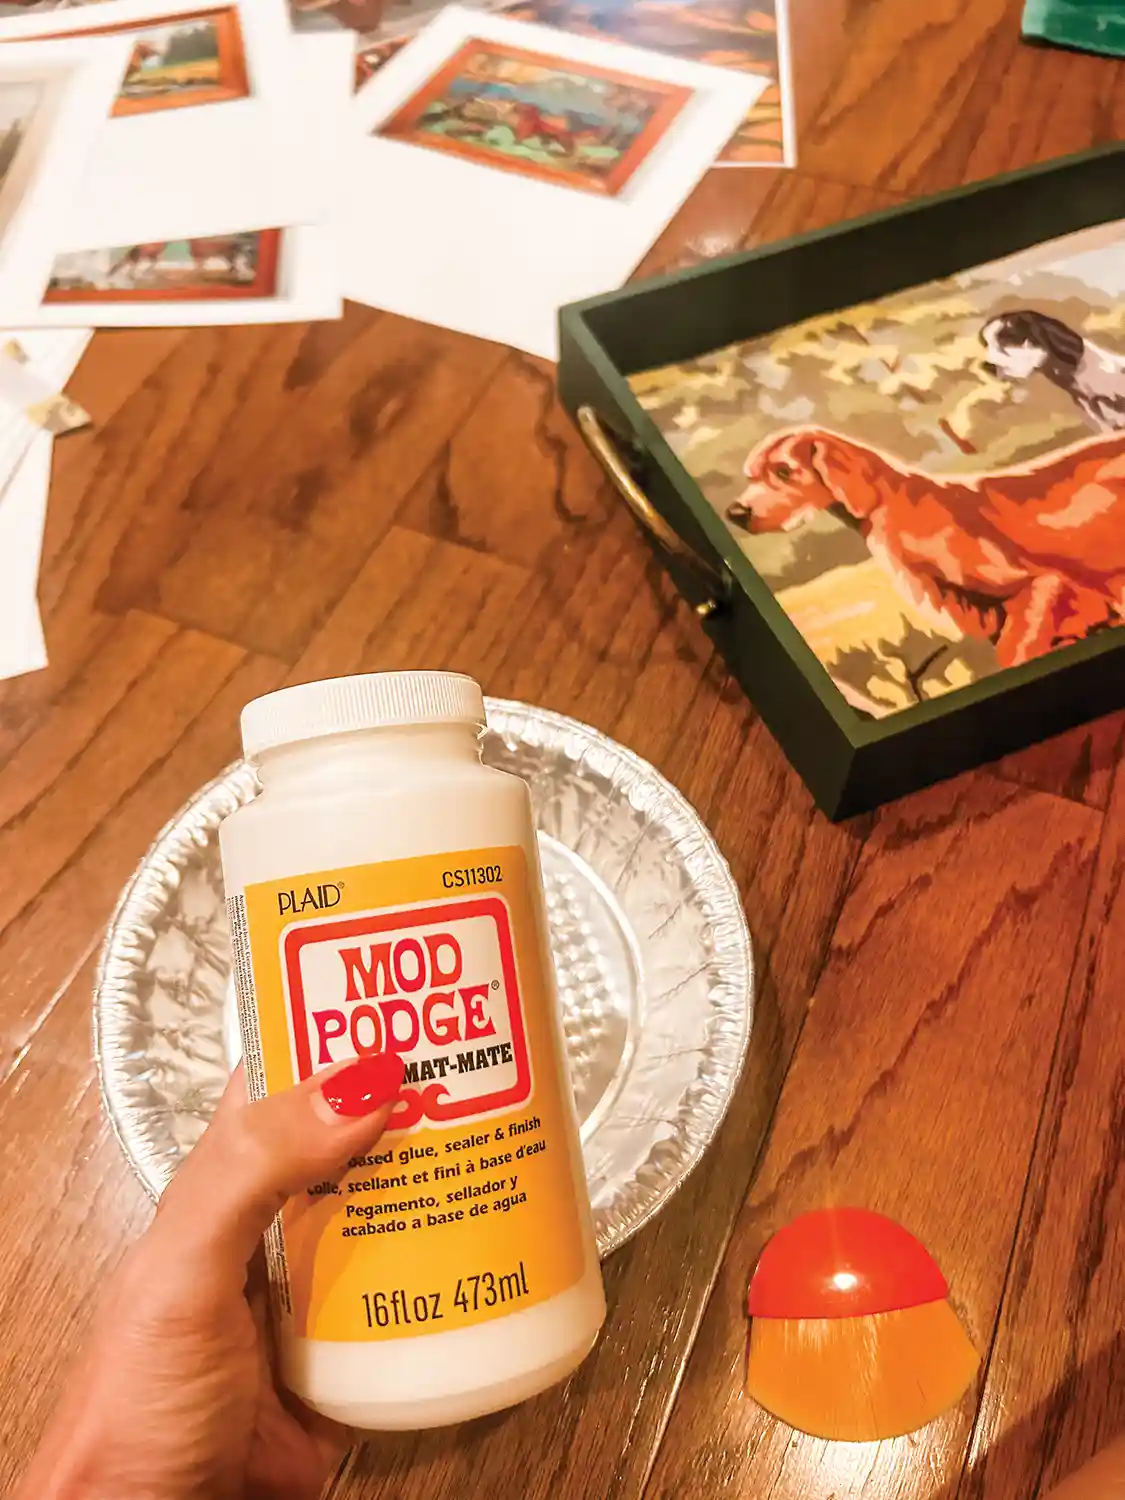
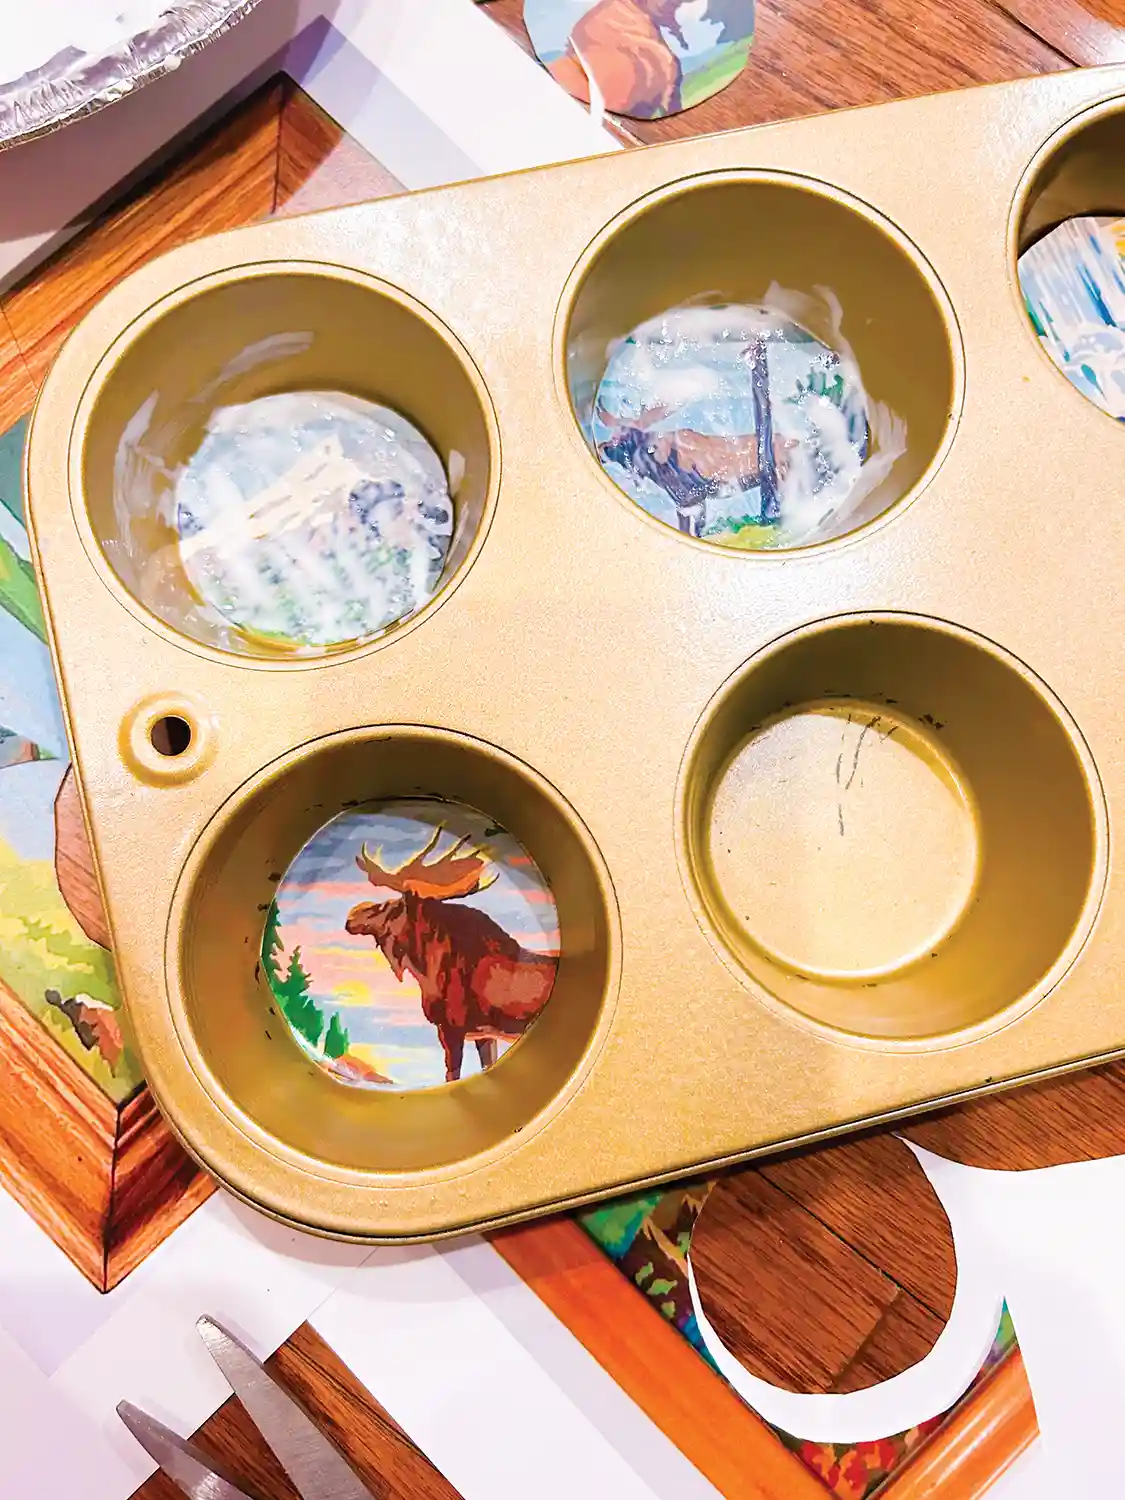
Cut the Images, Decoupage the Trays/Tins, and Place the Images
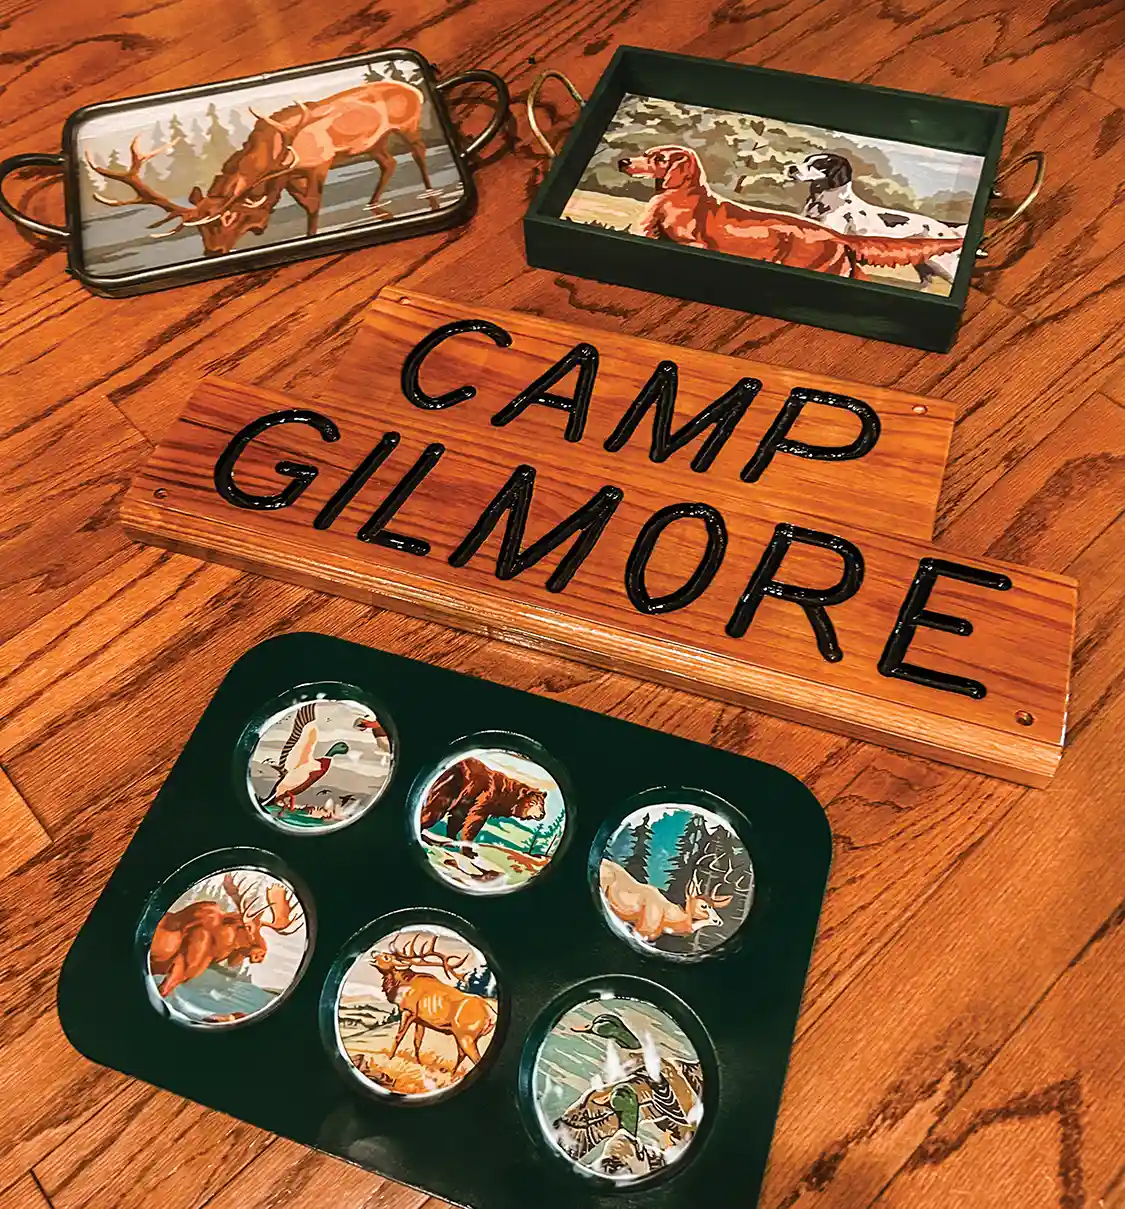
This is the stage where you see your designs come to life! Once your paint has dried, you will trace the inside of your trays and/or tins onto paper or cardstock to create a pattern. Square bottoms are easy, just measure with a ruler and cut out your image to fit. For the rounds, I found an item that fit nicely into the tin, then traced the glass bottom onto card stock to use as my pattern.
Next, you will use the Mod Podge and the sponge brush to coat the backs of your prints and then place them into their spots. This part is kind of like installing wallpaper in the sense that you will use your fingers to smooth and work out wrinkles. Don’t stress if you have some wrinkles in these, as it adds character and makes them look a little more like vintage paintings.
Once the images are in place you will add the Mod Podge to the top of the designs to seal them, as well as add depth and dimension. You can add more coats once the first one dries. I used two to three coats.

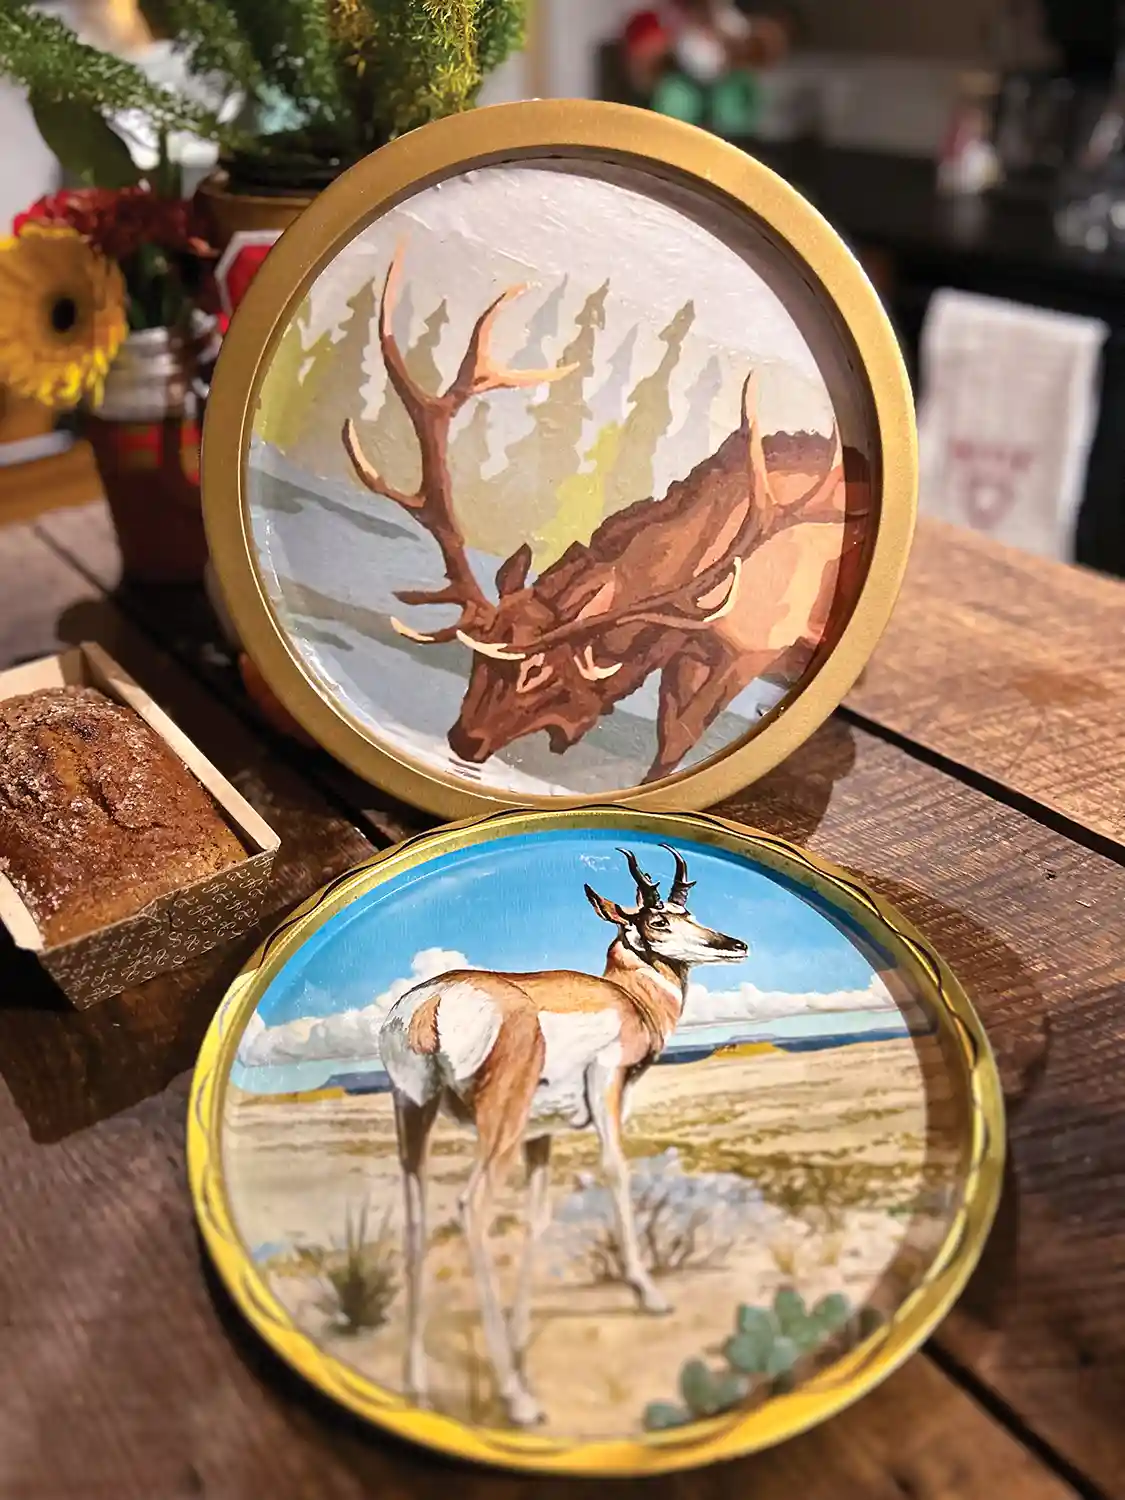
Add the Final Clear Coat
You’re almost there! I used clear spray lacquer, as mentioned previously, because I happened to have it on-hand from a previous project. When I do this again, I will use a matte spray clearcoat, so they are not quite as glossy. The lacquer is not food safe, but I plan to use these as drink trays only. I know there are types of polyacrylic topcoats that are food-safe if you let them cure according to the directions. I did two lacquer coats on the trays, allowing a day to dry between coats.
Enjoy Your Creations!
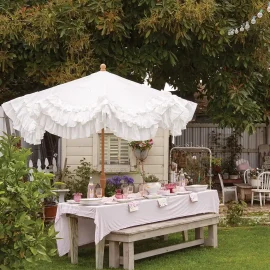
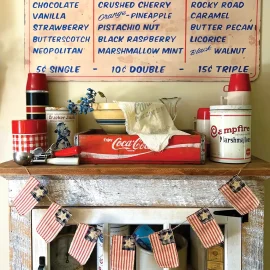
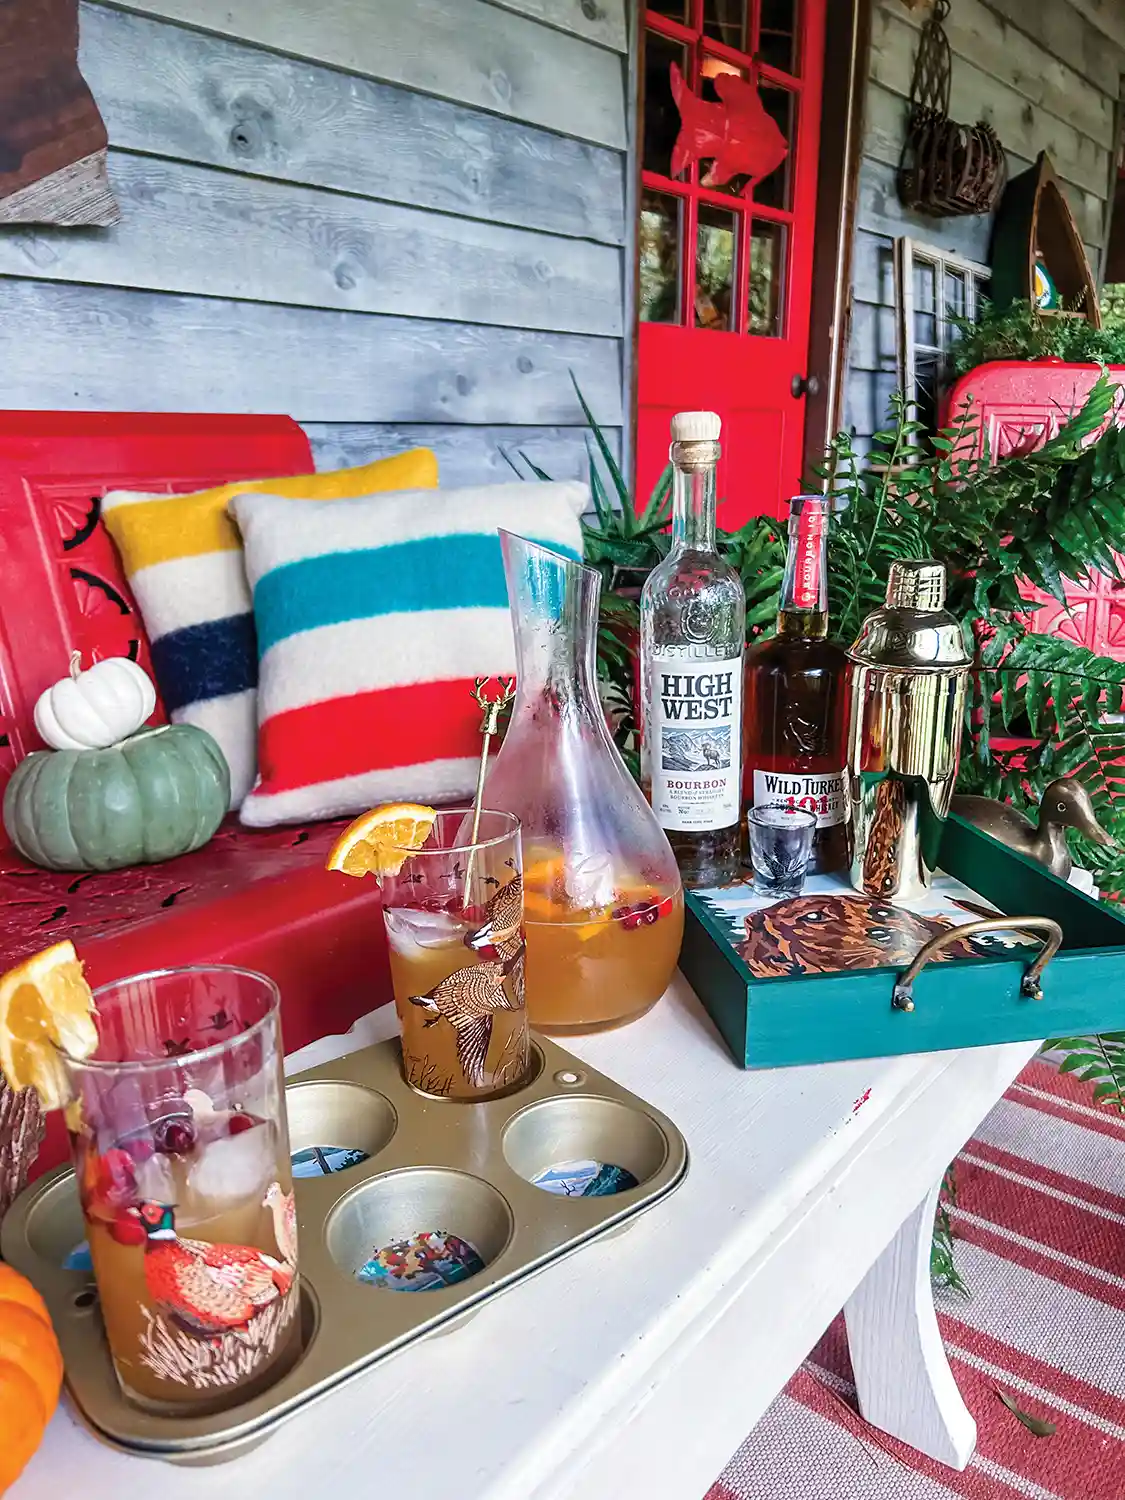
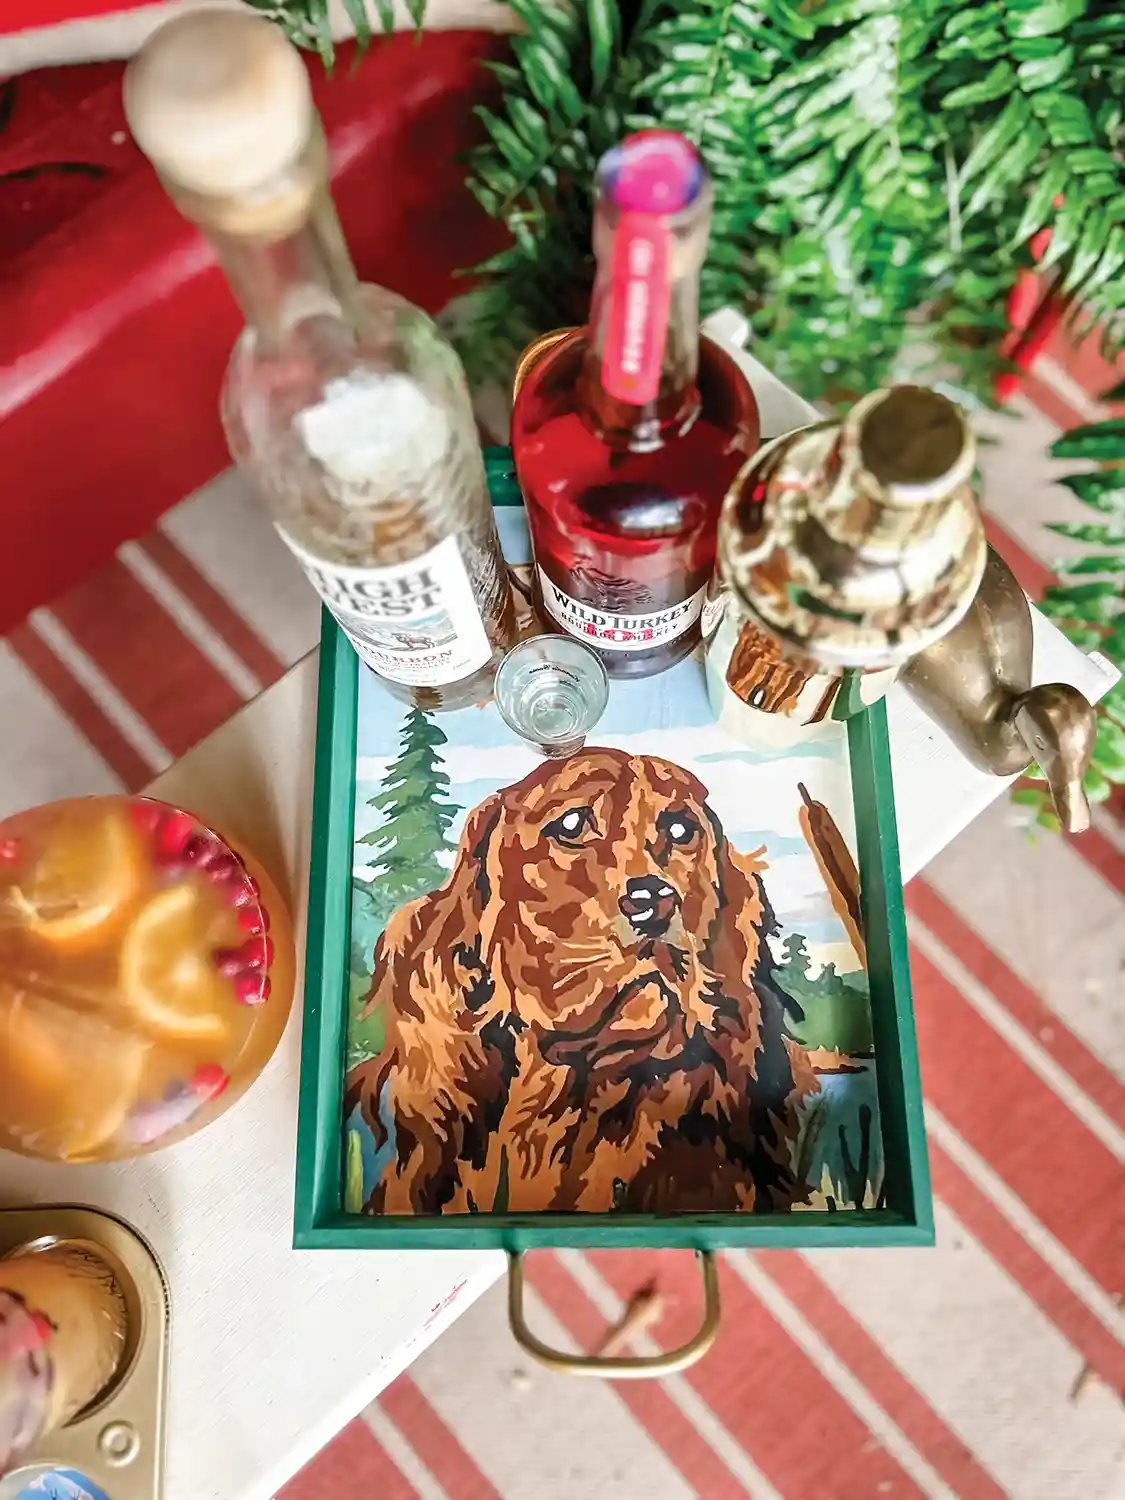
The final step! Now you have a retro-inspired drink tray that will be perfect for entertaining. This can step up your cocktail party, casual fire pit Friday nights, or weekend porch sittings. I am so excited to use mine at our holiday events, as well. They also look cute just hanging in my kitchen and bar area.
