Stacie Gilmore
Bring the spirit of an old camp lodge into your Space with this Adirondack inspired DIY.
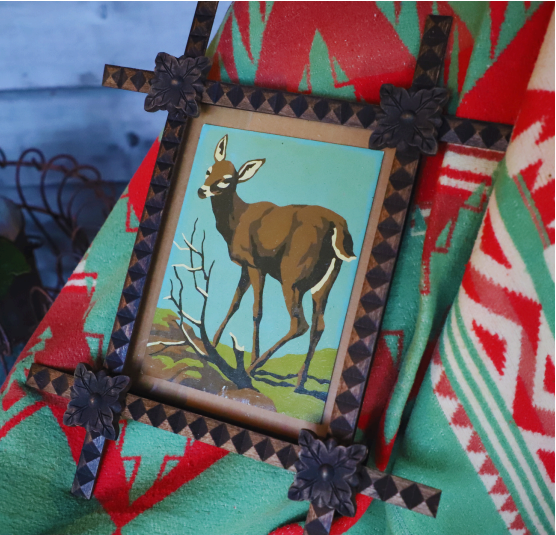
I love creating vintage inspired DIYs. They are so fun to mix in with authentic pieces . When I look at photos of the Adirondack cabins and Ralph Lauren’s Colorado Ranch for inspiration, my eyes always go straight to the walls and the tramp art frames displayed in these spaces. I have one authentic vintage frame, and since they can be pricey, I decided to make my own inspired version. Having no time to carve a frame as they did in the Gilded Age, I went to Amazon and craft stores to dress up some thrift store frames.
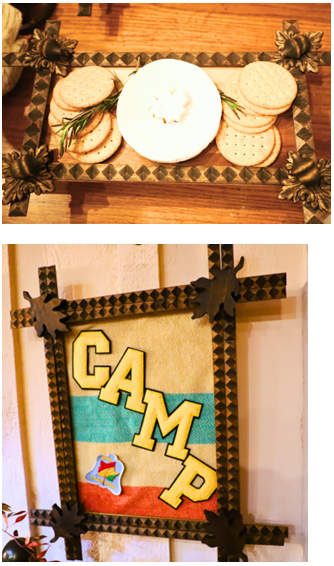
As I got into the project, I realized how cool this style could look on a charcuterie board for entertaining, as well as for door or wall décor. There are so many possibilities – shadow boxes for vintage scout badges or arrowheads, or frames for favorite fabric patterns or bulletin boards.
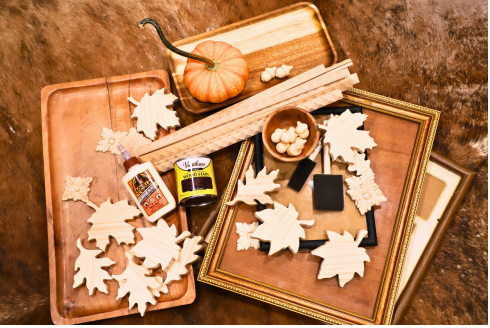
Step 1: Gather Materials
- Thrifted frames, charcuterie boards, or wood trays
- Wood trim or slats (I found mine on Amazon)
- Wood craft leaves, acorns, or other embellishments
- Stain
- Wood glue (I used Gorilla Wood Glue)
- Hot Glue
- Foam brushes
- Clamps or heavy books
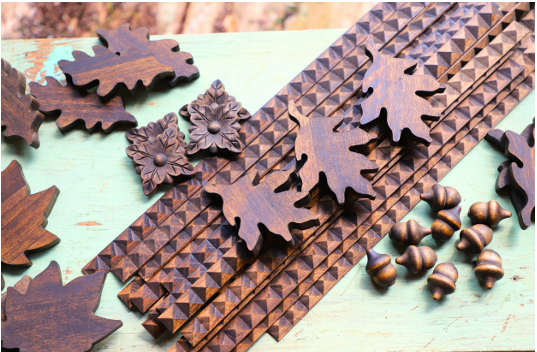
Step 2: Lay Out Your Design
Take the wood trim pieces (you can have them cut to size at a home store or use a small handsaw) and arrange them on the frames or trays. I wanted about a two to three-inch overhang. Thin trim (like the kind from Amazon) doesn’t need cutting—it’s flexible enough to crisscross over another piece. If you’re using thicker trim, you may need to cut the ends to create a clean overlap. Next, decide what wood embellishments you’d like to use in the corners—leaves, acorns, or other decorative details. I found these on Amazon and in craft stores.
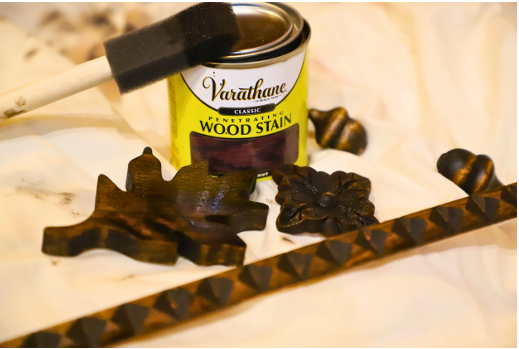
Step 3: Stain Your Pieces
Stain all of your wood pieces before gluing. I chose a dark stain to mimic the vintage frames that were often cigar boxes or crates carved and stained. I used Varathane Classic in Dark Walnut, but you can experiment with other colors for different effects.
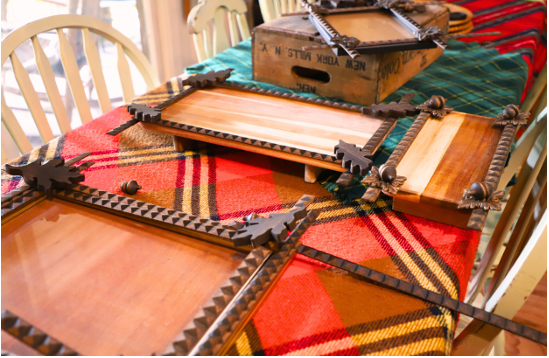
Step 4: Glue in Place
Use wood glue to secure the pieces onto the frame. I used Gorilla brand wood glue to glue the trim pieces to the frames and trays and hot glue for the embellishments. For the smaller frames, I used a heavy book to hold the trim while it dried. For larger frames, clamps worked best. Once the side pieces were dry, I added the leaves and acorns in the corners with more glue.
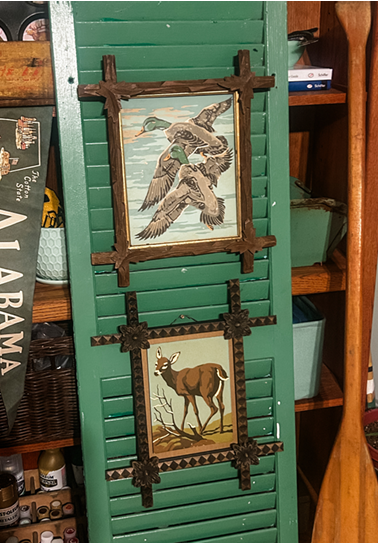
Step 5: Style
This is my favorite step! Use your frame to display photos, artwork, fabric, or varsity letters. I am planning to use the large one on my front door later, but for now they are going on my gallery wall. And the charcuterie boards? They got a major glow-up with the tramp-art-inspired framing! I hope this inspires you to try your own version of this fun project.
lodge feel