Emily Kelley
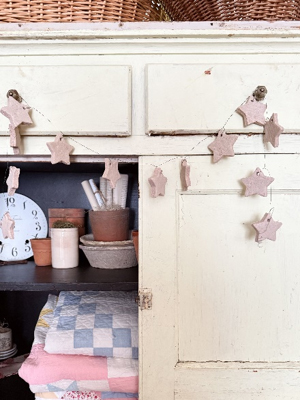
As a décor enthusiast, little details are what make every vignette or cozy corner feel special. They’re the touch that catches your eye and makes you stop to really admire a spot. With that in mind, a good décor staple is a garland. So, I combined the two and created a wired star garland that is a “little detail” in itself.
This budget friendly DIY uses just a few pantry & household goods, and may be reminiscent of elementary school years and one particular childhood craft, salt dough. Though, just a bit elevated.
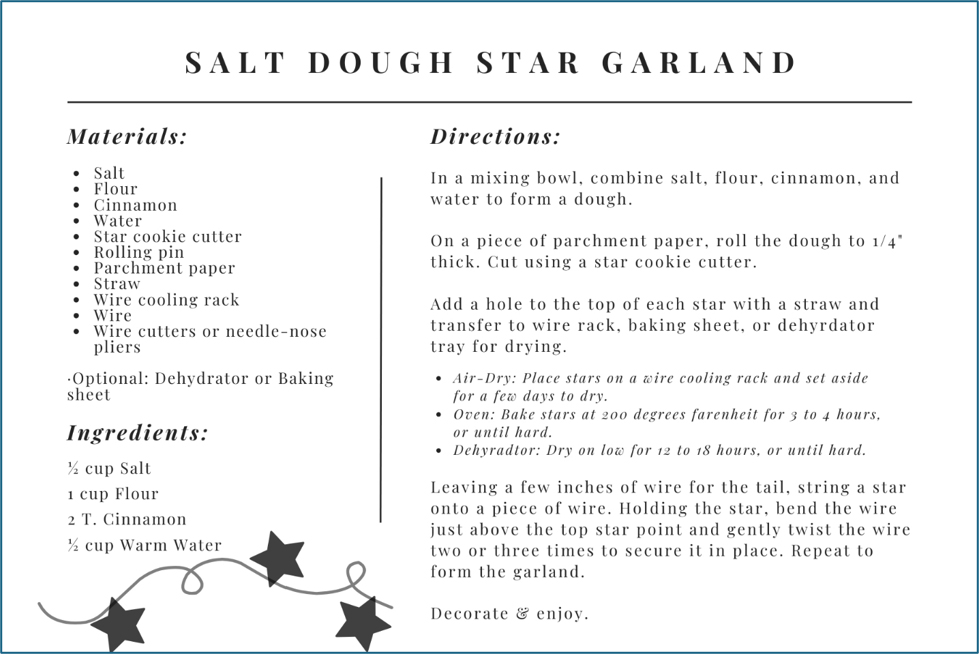
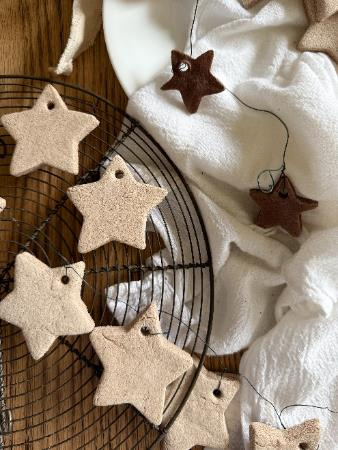
The garland shown has 13 stars, cut from a 2.5” cutter, and is roughly 4 feet in length, including the wire tails at each end.
Gather Materials
- Salt
- Flour
- Cinnamon
- Water
- Star cookie cutter
- Rolling pin
- Parchment paper
- Straw
- Wire cooling rack
- Wire
- Wire cutters or needle-nose pliers
- Optional: Dehydrator or Baking sheet
Dough
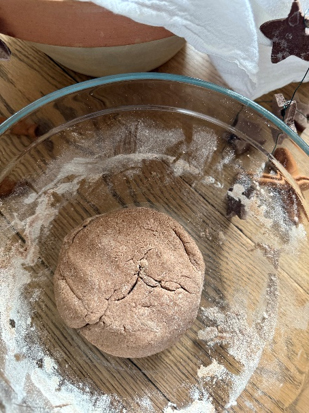
To begin, you’re going to make a basic salt dough, but add cinnamon as a colorant. As a bonus, the garland not only looks adorable, but smells wonderful.
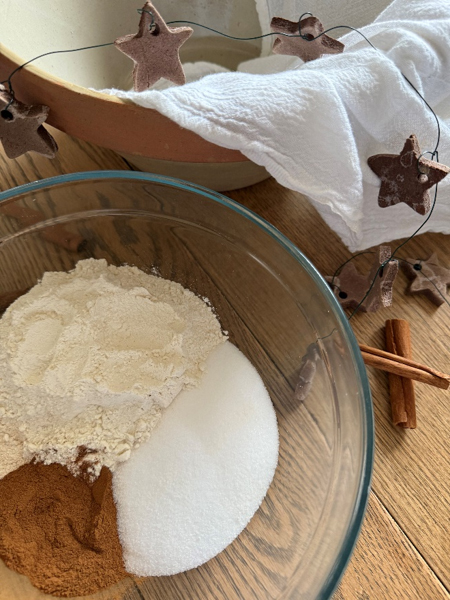
In a mixing bowl, add ½ cup salt, 1 cup flour, and 2 tablespoons of cinnamon. Add ½ cup warm water and mix. Depending on how dark you’d like your garland, you can add additional cinnamon during this step, adjusting the water so the consistency of the dough remains similar to a pie crust or soft clay.
Shape
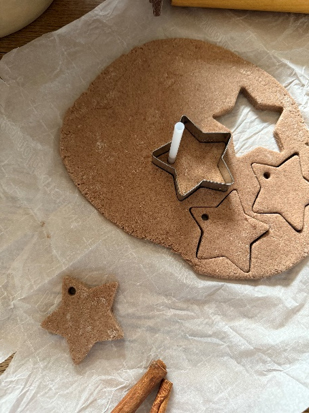
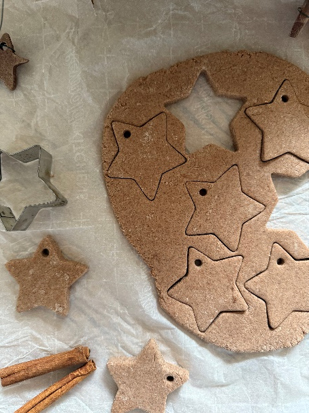
On a piece of parchment paper, use a rolling pin to roll out the dough. Thickness can vary dependent on personal preference, but I recommend staying at or under ¼ inch. Just as you would with cutout cookies, cut the star shapes and using a straw, add a hole near the top for hanging.
Drying
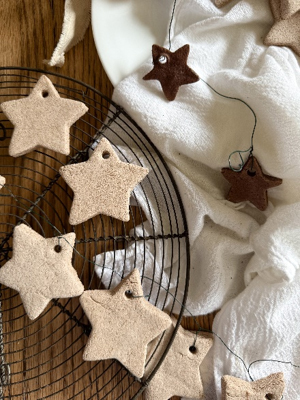
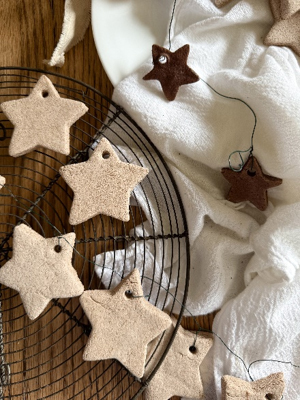
Once the stars are cut and have holes for hanging, you can choose a method for drying. Salt Dough can be dried in the oven, a dehydrator, or air-dry on the counter for a few days. This garland was dried in the dehydrator on low for around 18 hours. I recommend this method or air-drying over the oven; it ensures a flat cutout when fully dry, compared to the oven, where it may bubble in spots. Should you choose to dry in the oven, dry at a low temperature (200°F) for 2 to 3 hours. If you air-dry, place your shapes on a wire cooling rack for maximal air flow and check after a few days.
Creating the Garland
Once your stars are fully dry, cut a desired length of wire for your garland. Make sure to add additional wire to the desired end length. The end of each garland should have a wire tail and you want to account for the twist that holds each star into place.
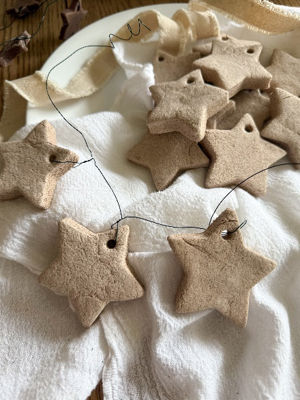
Leaving a few inches of wire for the tail, string a star onto the wire. Holding the star, bend the wire just above the top star point and gently twist the wire two or three times to secure it in place. String another star a few inches down the wire, twist, and repeat.
Time to Style
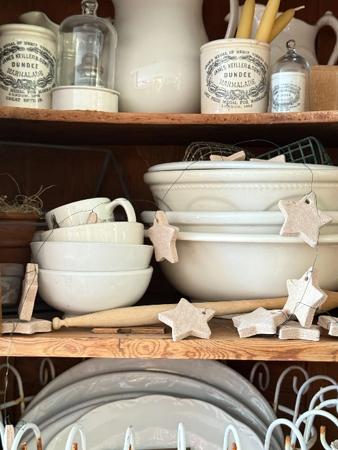
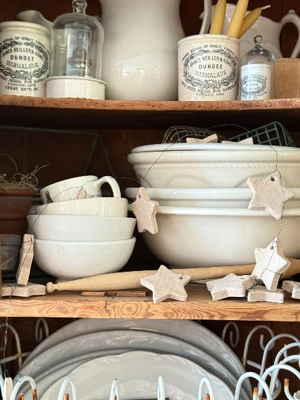
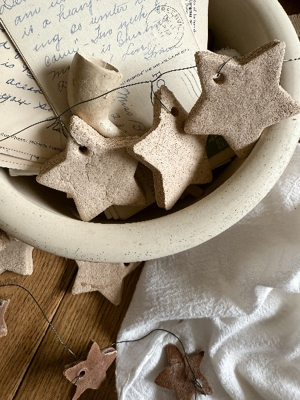
These garlands have endless possibilities, whether draped out of a bowl, off of an object, or simply hanging on a peg rack; now that you’ve created your garland, you get to add it to the perfect spot in your home for a fun “little detail”.
Tip: Go a step further and customize with different cookie cutter shapes, paint, fine glitter, and/or ribbon or twine in place of the wire. Happy Crafting!