Deborah Ysidron
How I Gave a $50 Vintage Chandelier a Second Life
One of my favorite things about decorating with vintage pieces is finding something that everyone else might overlook and imagining what it could be. I love a good ugly-duckling makeover, and this chandelier certainly fits the bill!
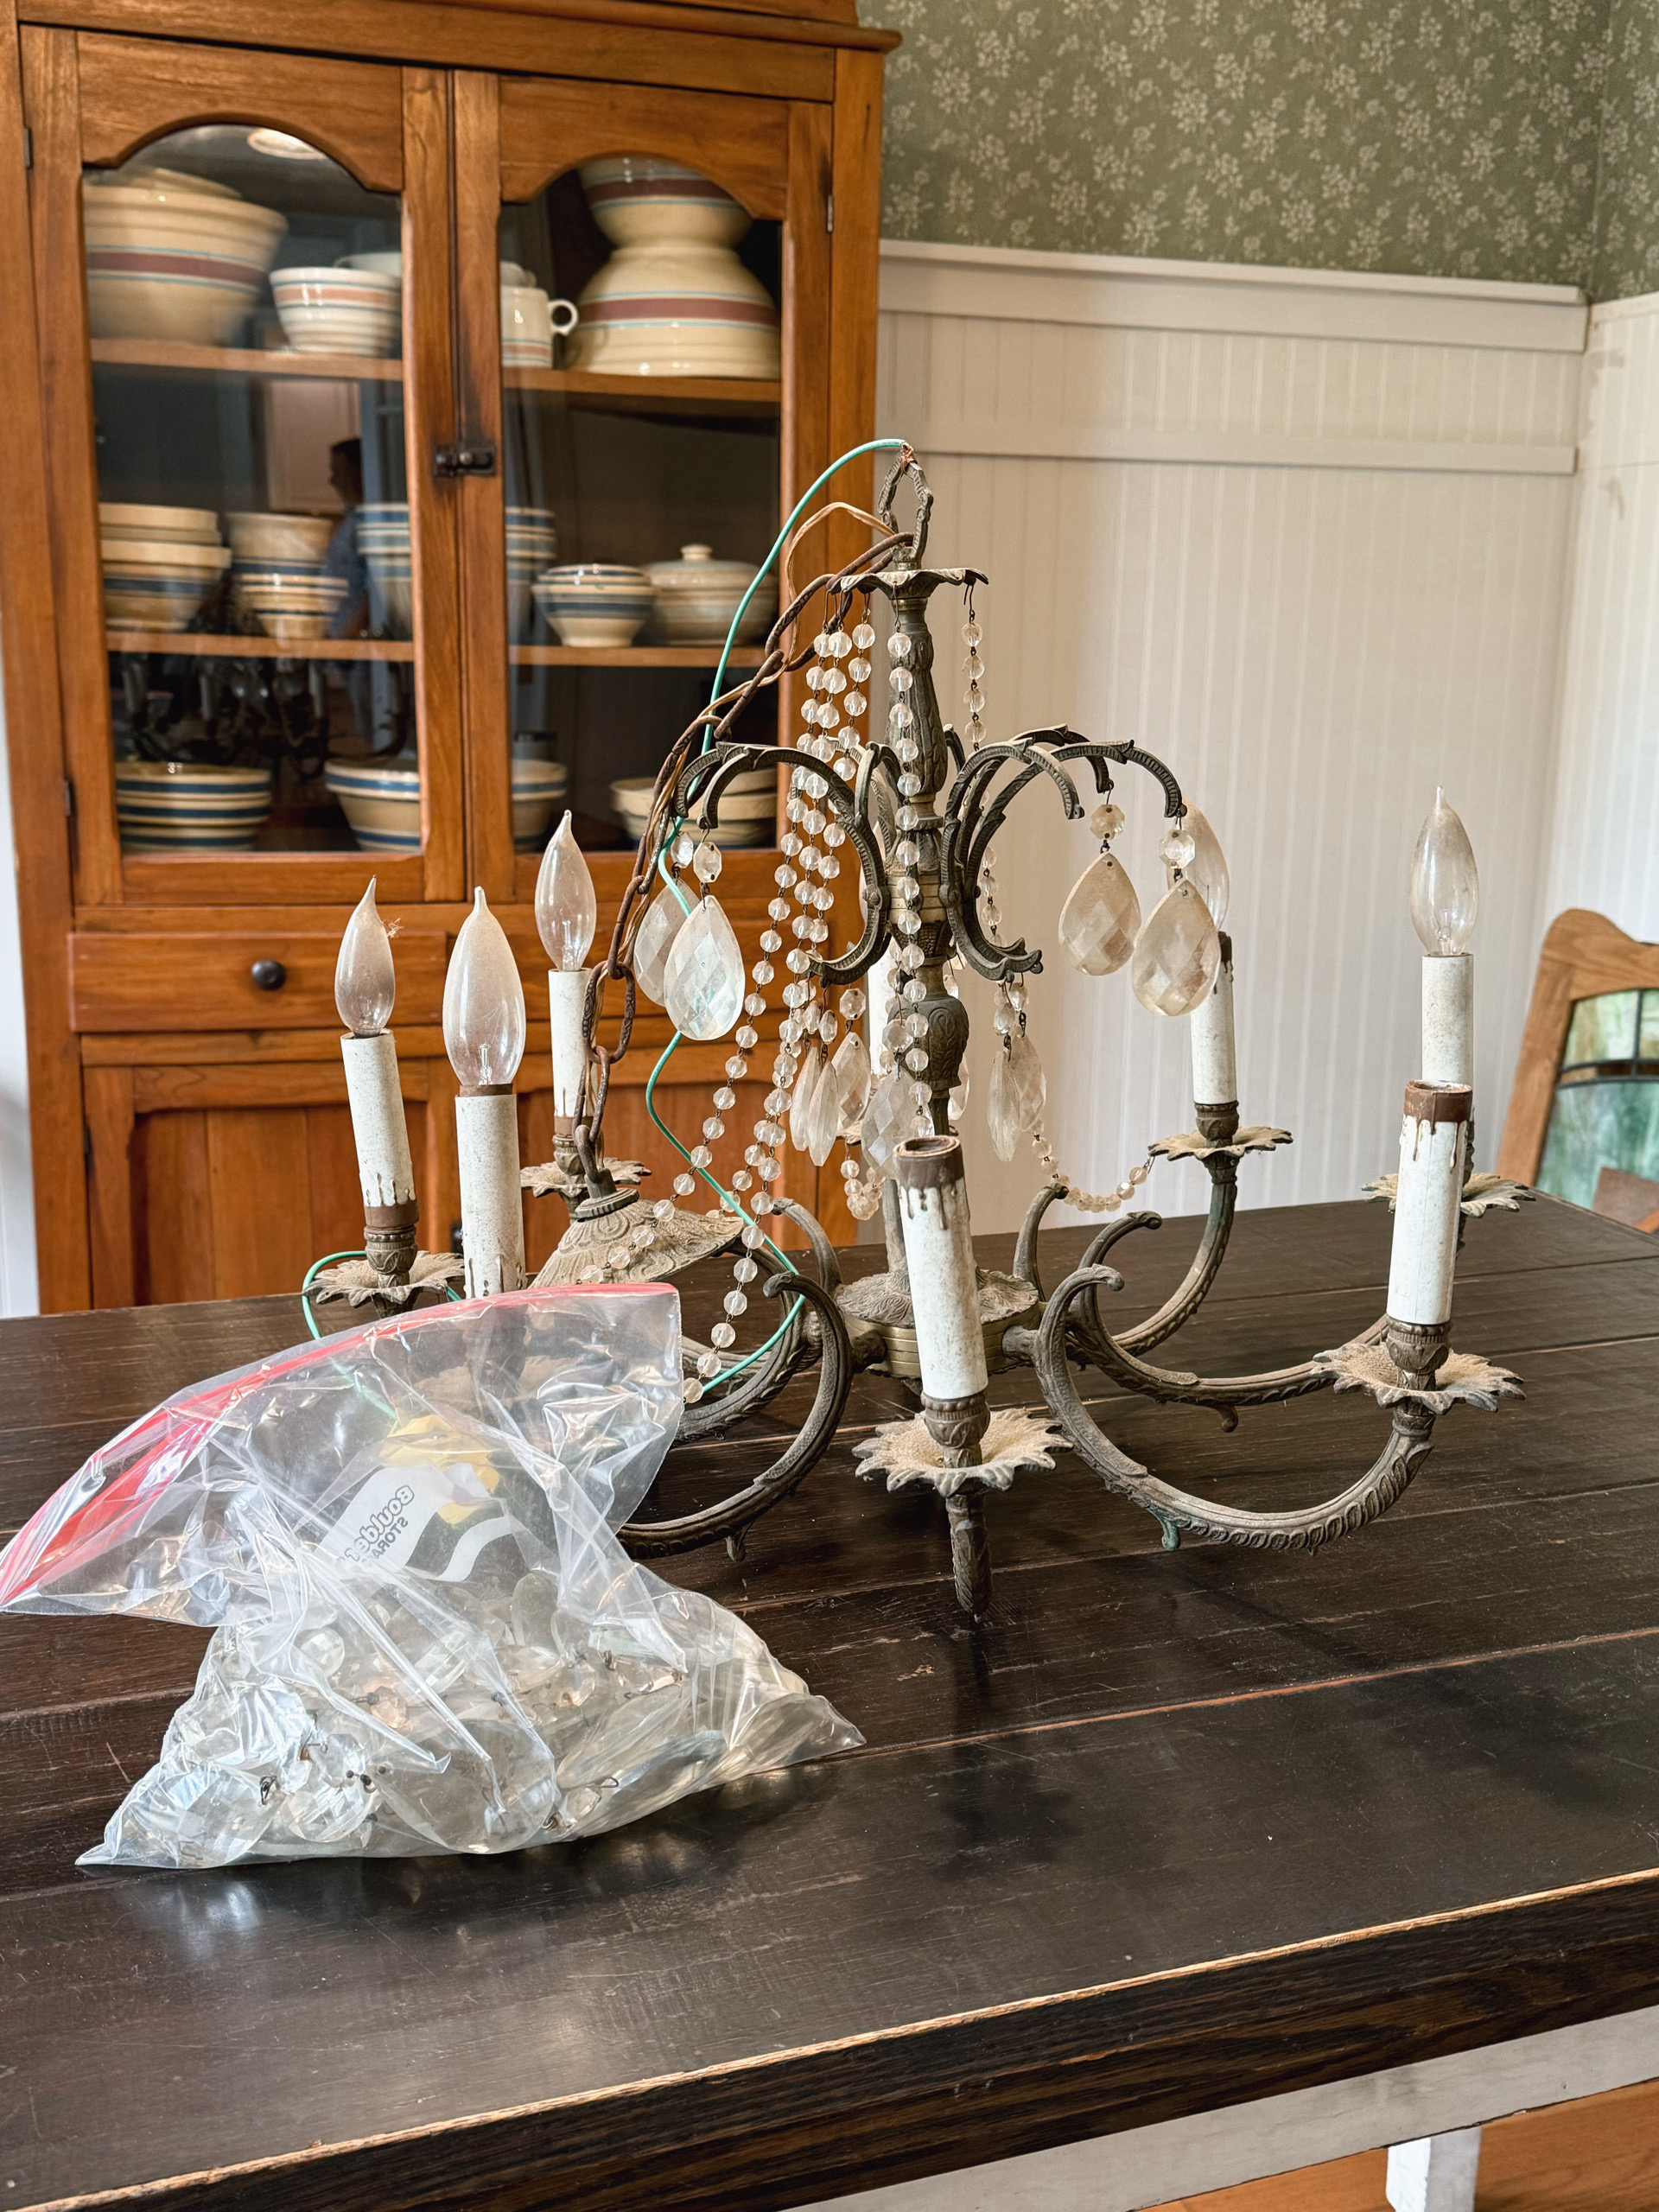
I found it on Facebook Marketplace for just $50. When I first saw it, it wasn’t exactly a showstopper. Years of dirt and grime covered the beautiful metalwork; the crystals had lost almost all of their sparkle, and some of the old wiring had seen better days. But underneath all of that, I could see beautiful details and lots of potential.
I knew it didn’t need a complete makeover to make it beautiful again. I wanted to preserve its age and character—not make an old chandelier look brand new.
Taking It All Apart
Before I touched anything, I took plenty of pictures of the chandelier from different angles. When you’re dealing with dozens of crystals and bead strands, it’s surprisingly easy to forget where everything belongs!
I carefully removed the crystals, bead strands and candle sleeves, keeping similar pieces together. Once everything was removed, I was left with a very bare chandelier—and quite a pile of parts on my table!
Cleaning Away Years of Grime
This was where the transformation really began.
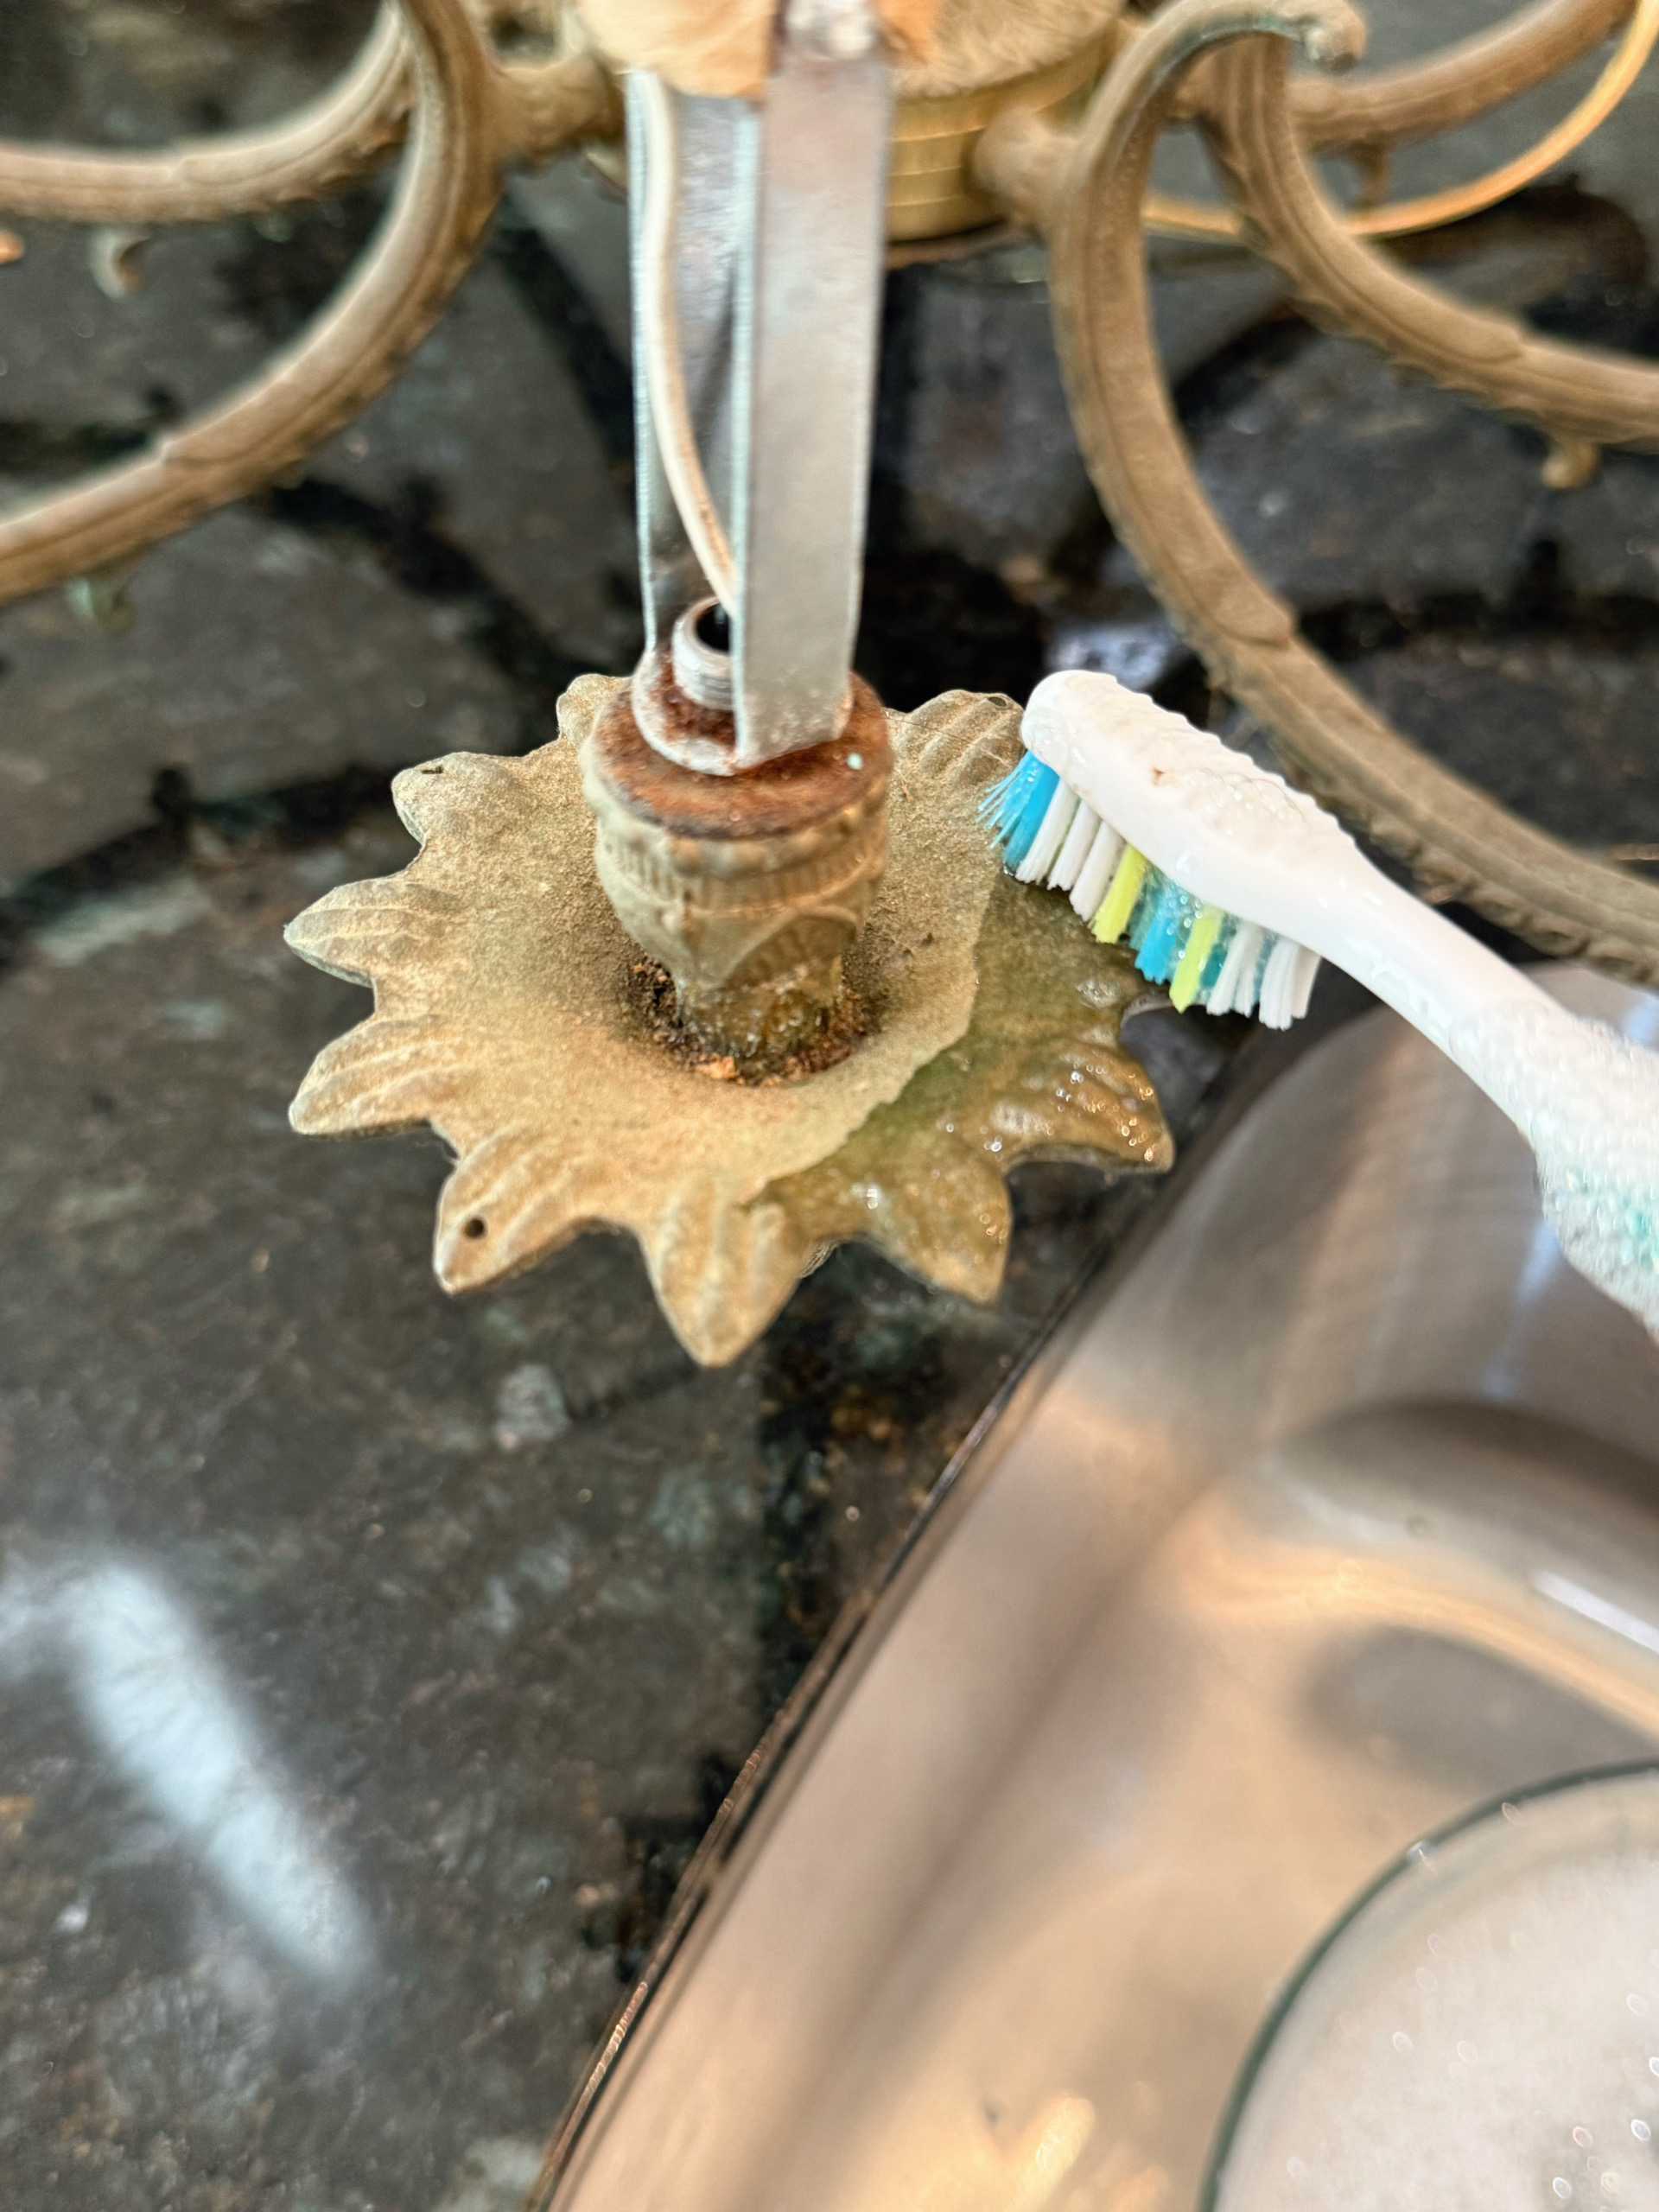
Using warm water, a little mild dish soap and a soft toothbrush, I gently scrubbed the chandelier. The toothbrush was perfect for reaching all of the tiny grooves and decorative details where years of dirt had collected.
As I cleaned, the beautiful aged finish underneath started to appear. I wasn’t trying to scrub away the patina—that was part of what made me fall in love with the chandelier in the first place. I simply wanted to remove the grime that had been hiding it.
Bringing Back the Sparkle
Next came the crystals.
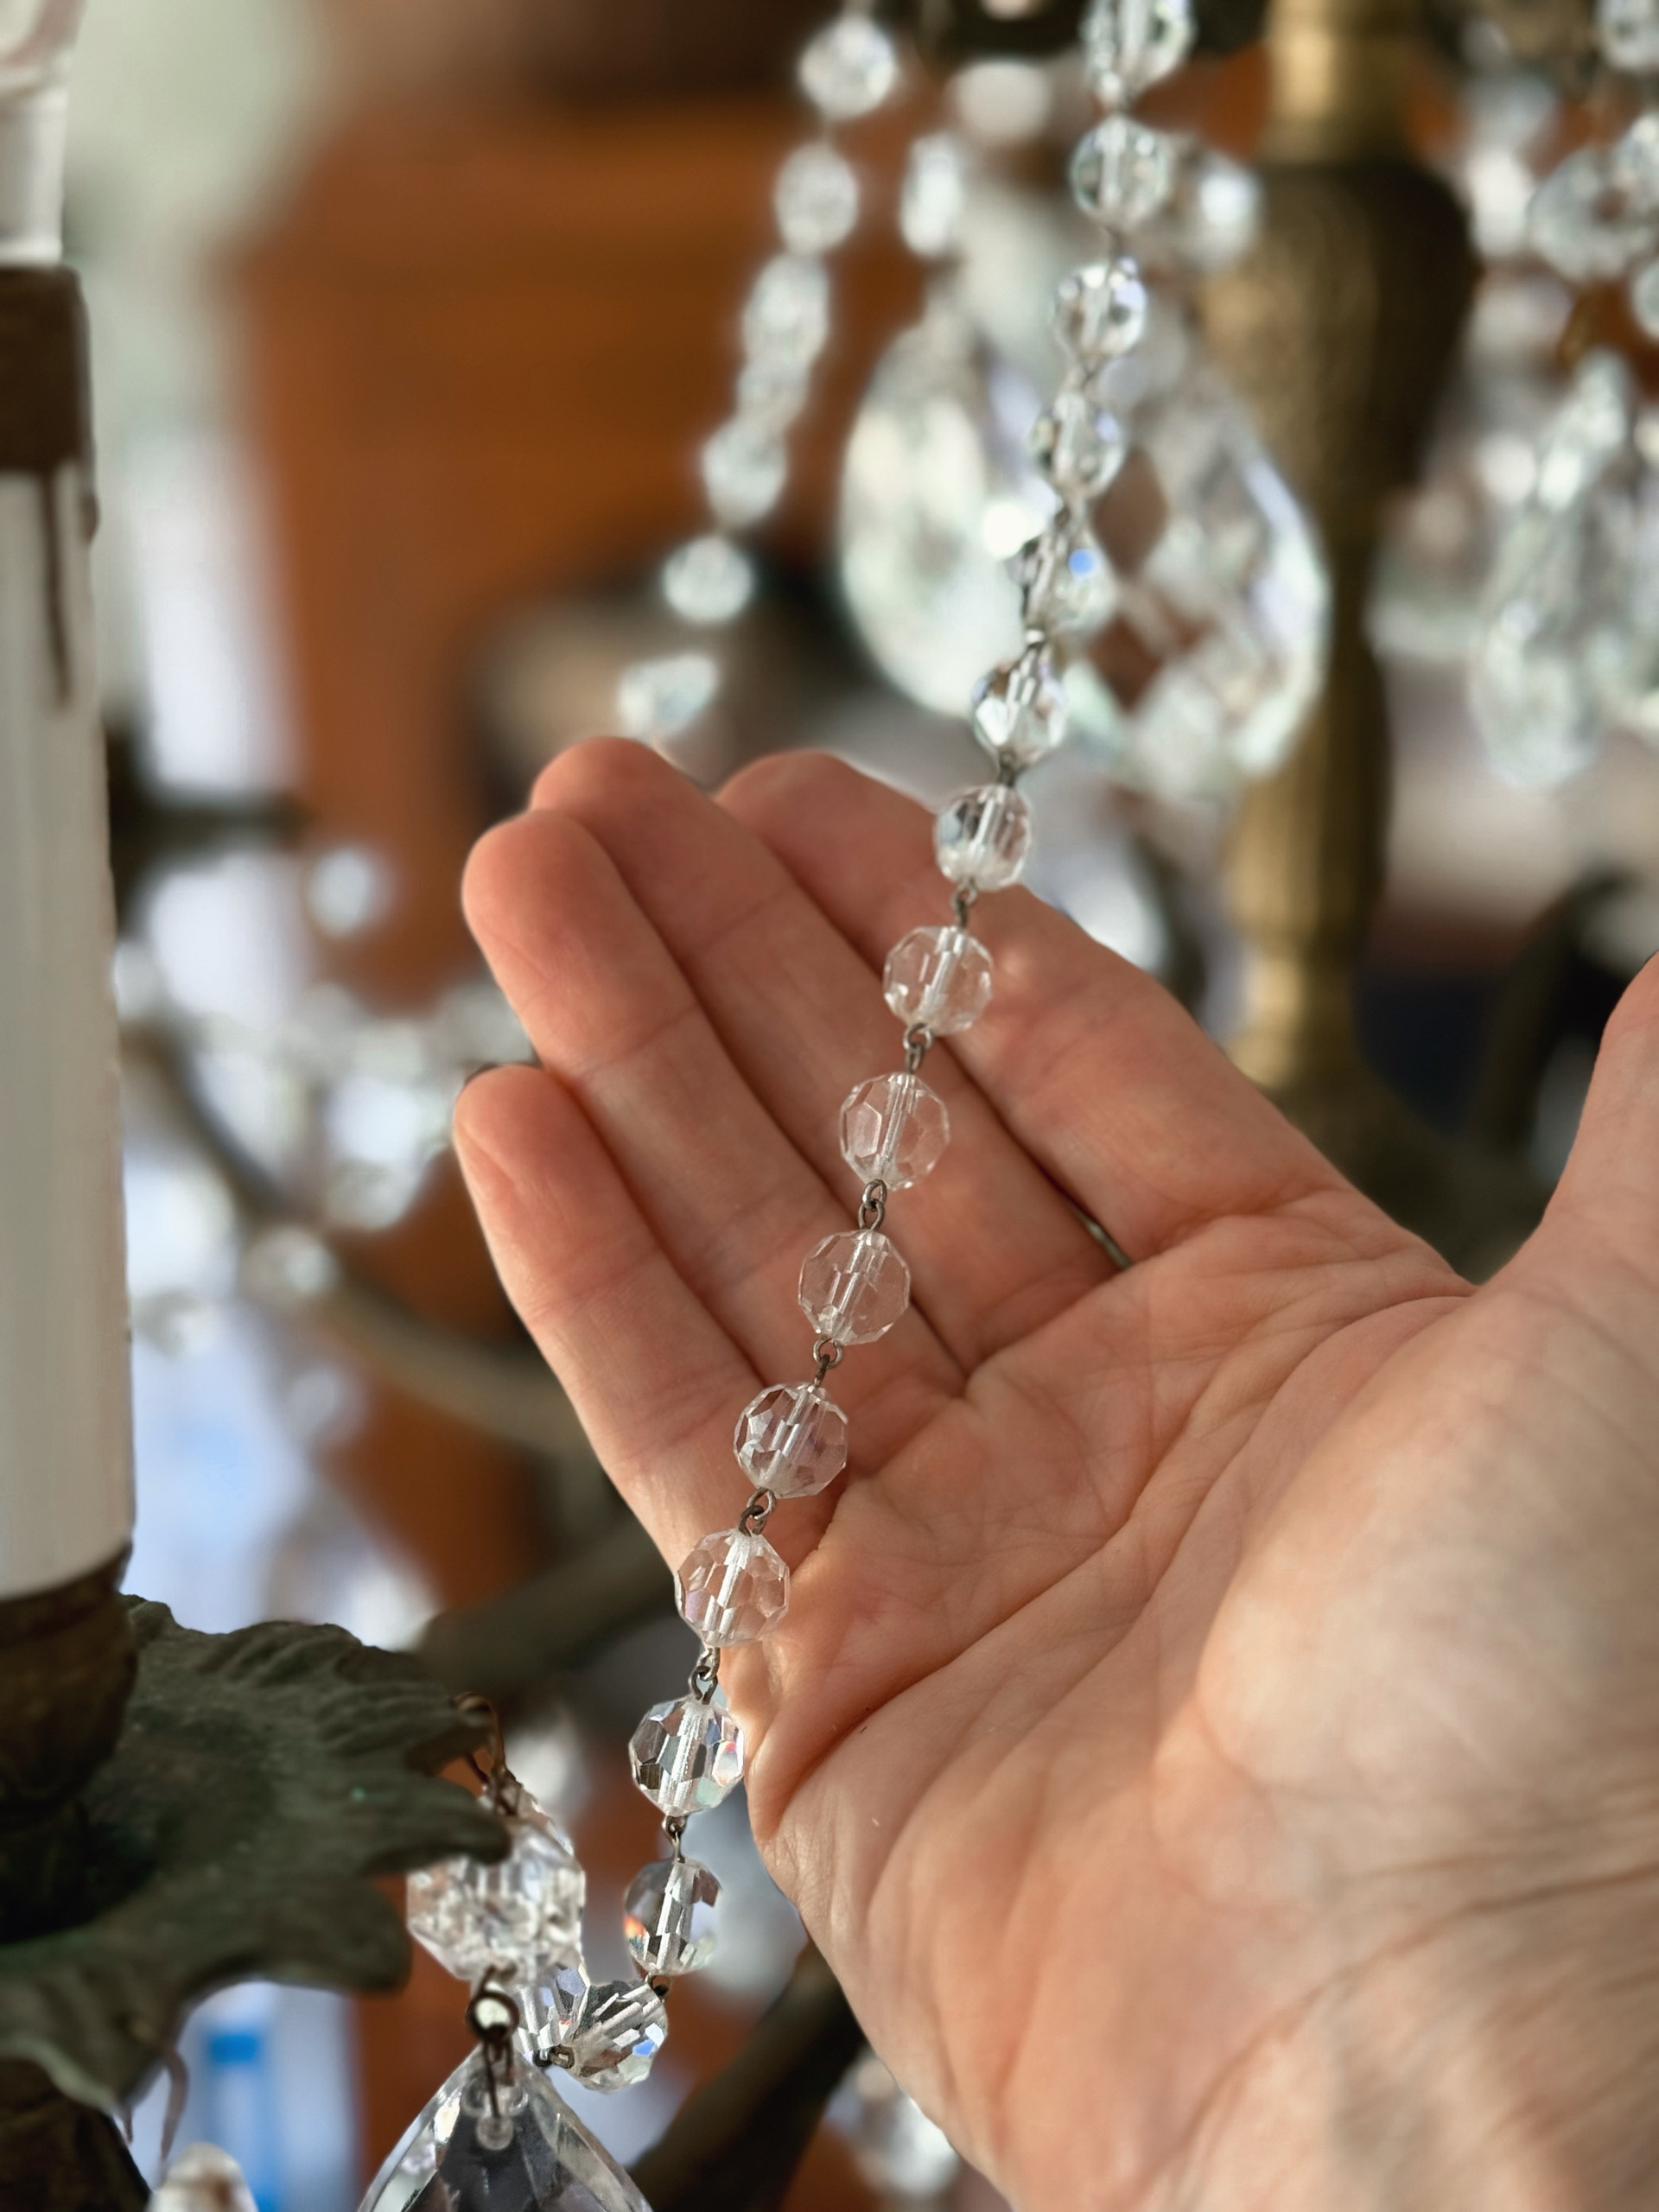
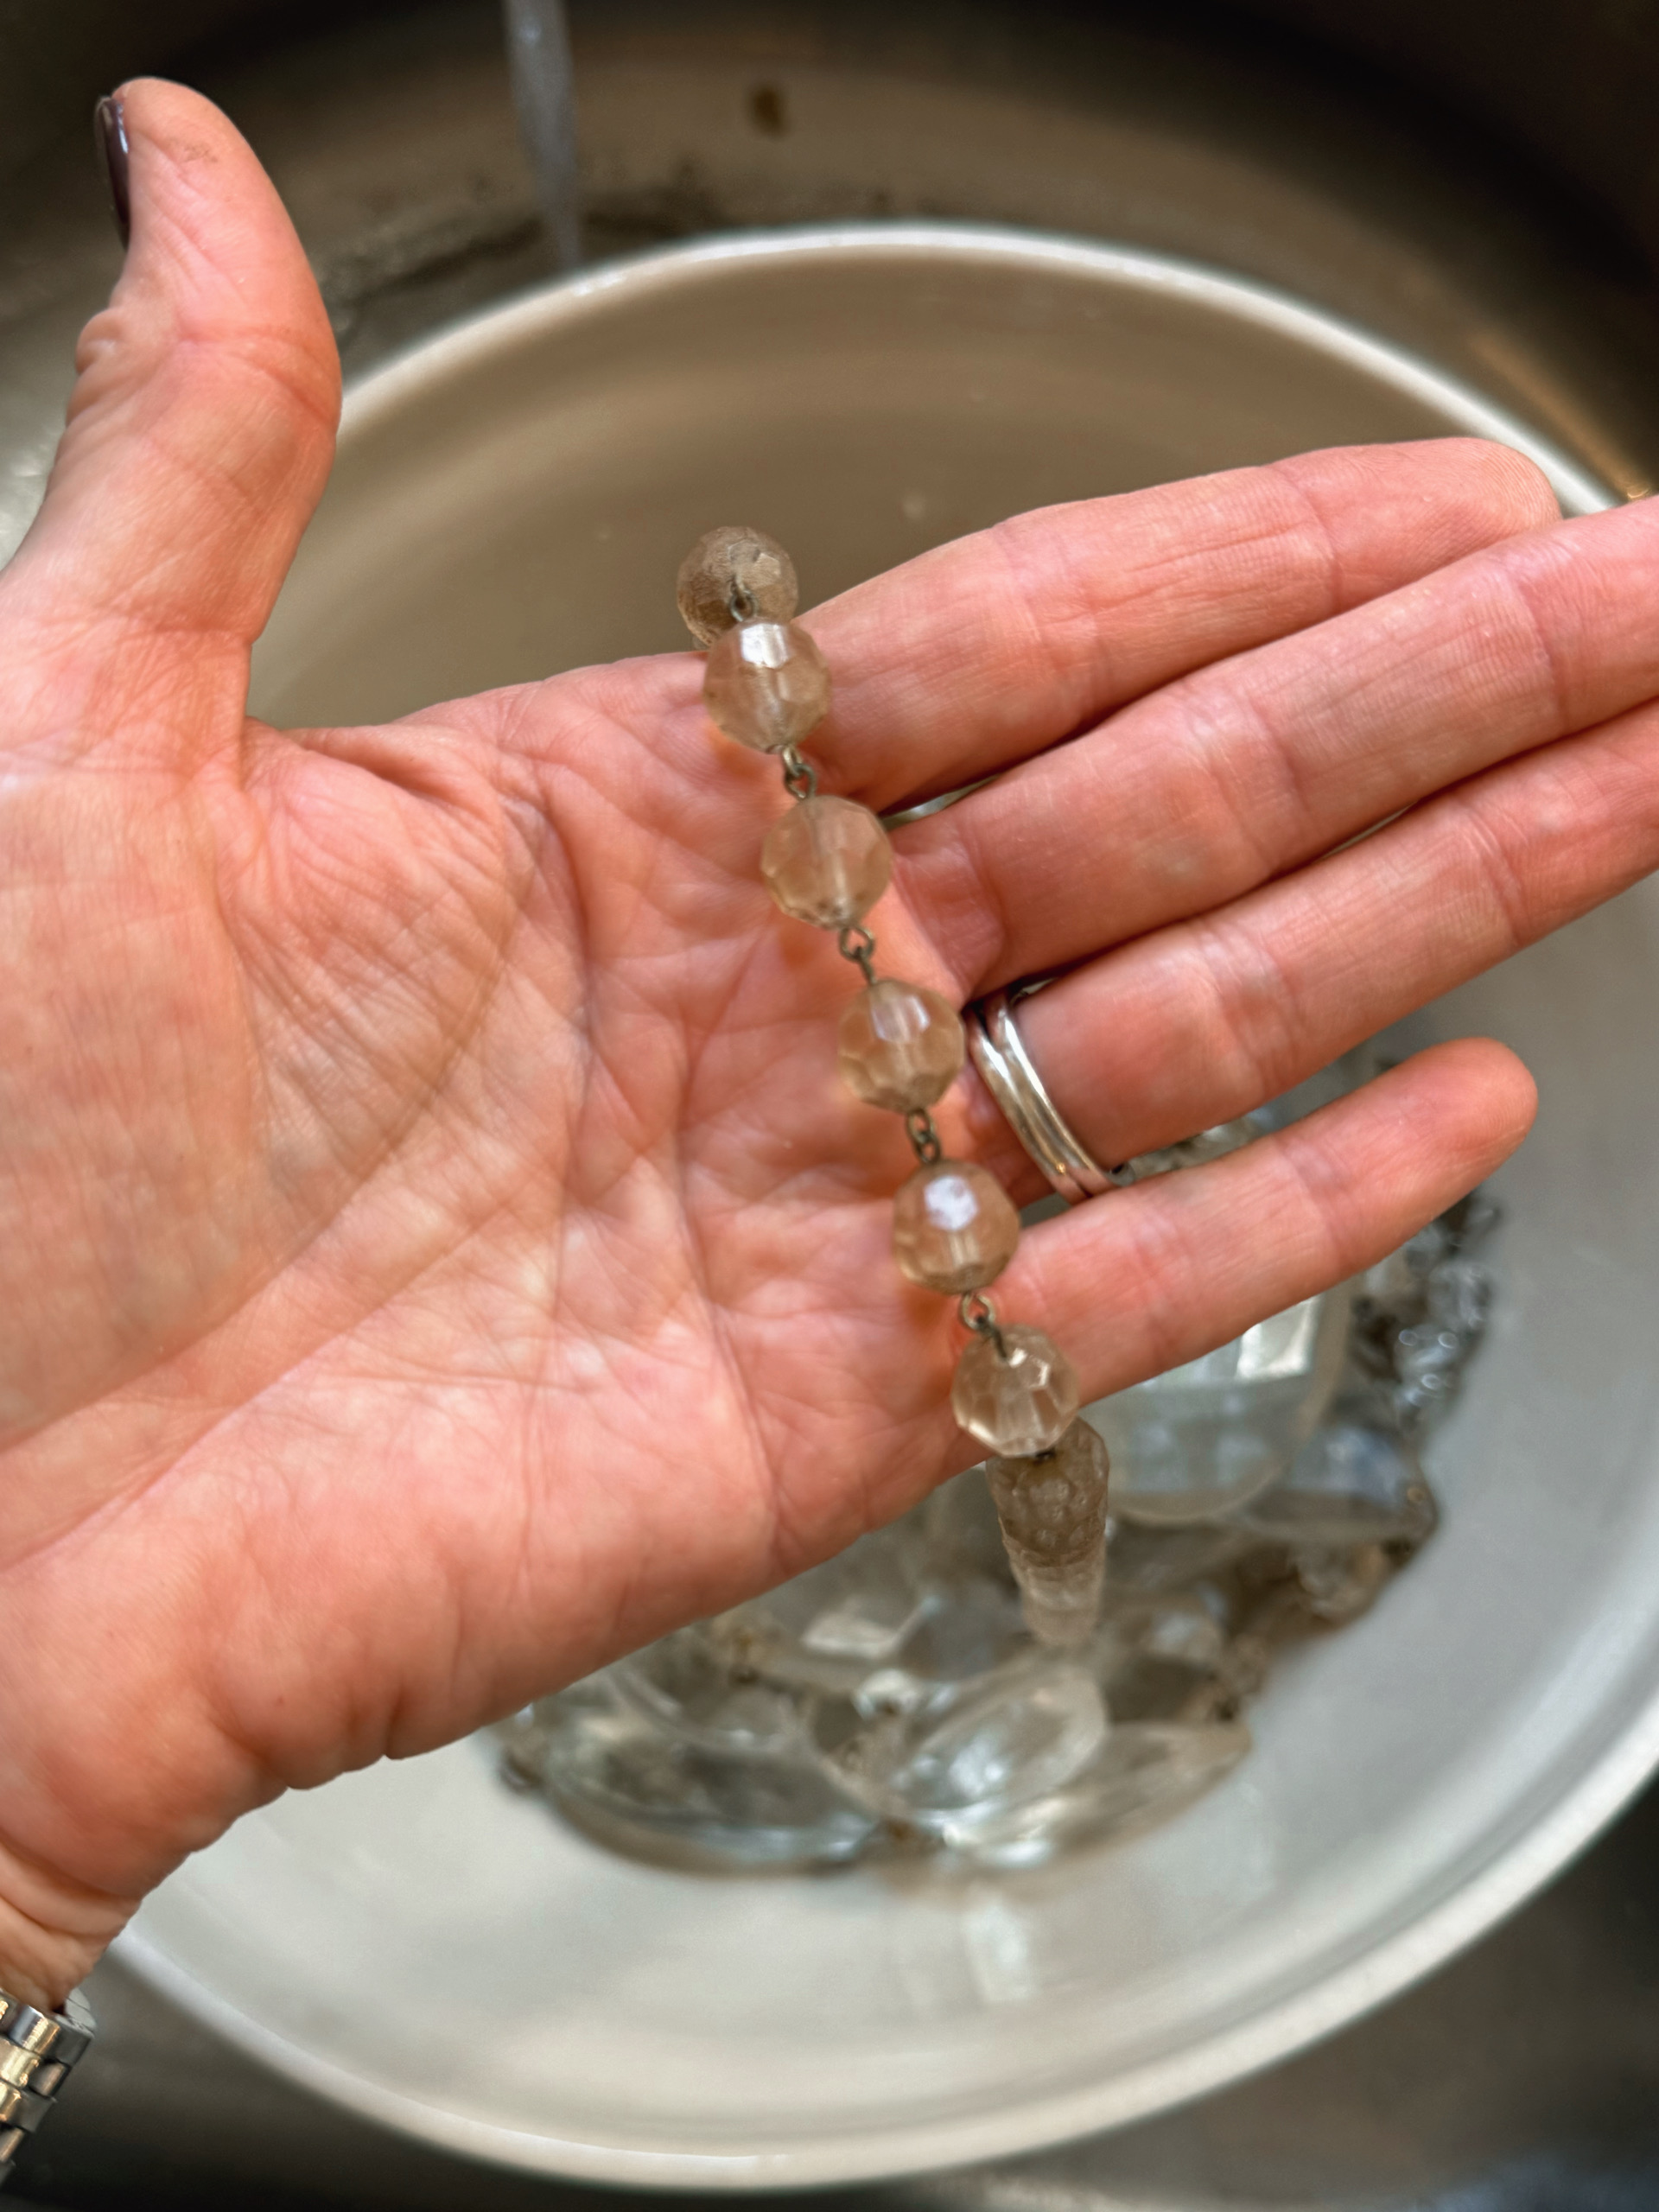
They were so dirty that it was hard to imagine how beautiful they could be! I soaked the crystals and bead strands in warm, soapy water with a small splash of white vinegar. After gently cleaning and rinsing them, I laid everything on soft towels to dry completely.
This may have been my favorite part of the entire project. Seeing those once-dirty crystals sparkling again gave me my first glimpse of what this old chandelier could become.
Giving the Wiring Some Attention
With any vintage light fixture, it’s important to inspect the electrical components before using it. The old wiring on my chandelier was damaged, so I replaced it with new, properly rated fixture wire before the chandelier was installed.
Older fixtures can have deteriorated wiring, sockets or other electrical components that aren’t safe to reuse If you’re unsure about the condition of a vintage fixture or aren’t experienced with electrical work, have it inspected, rewired and installed by a qualified electrician.
Putting the Pieces Back Together
Once the chandelier was safely installed, the fun really began.
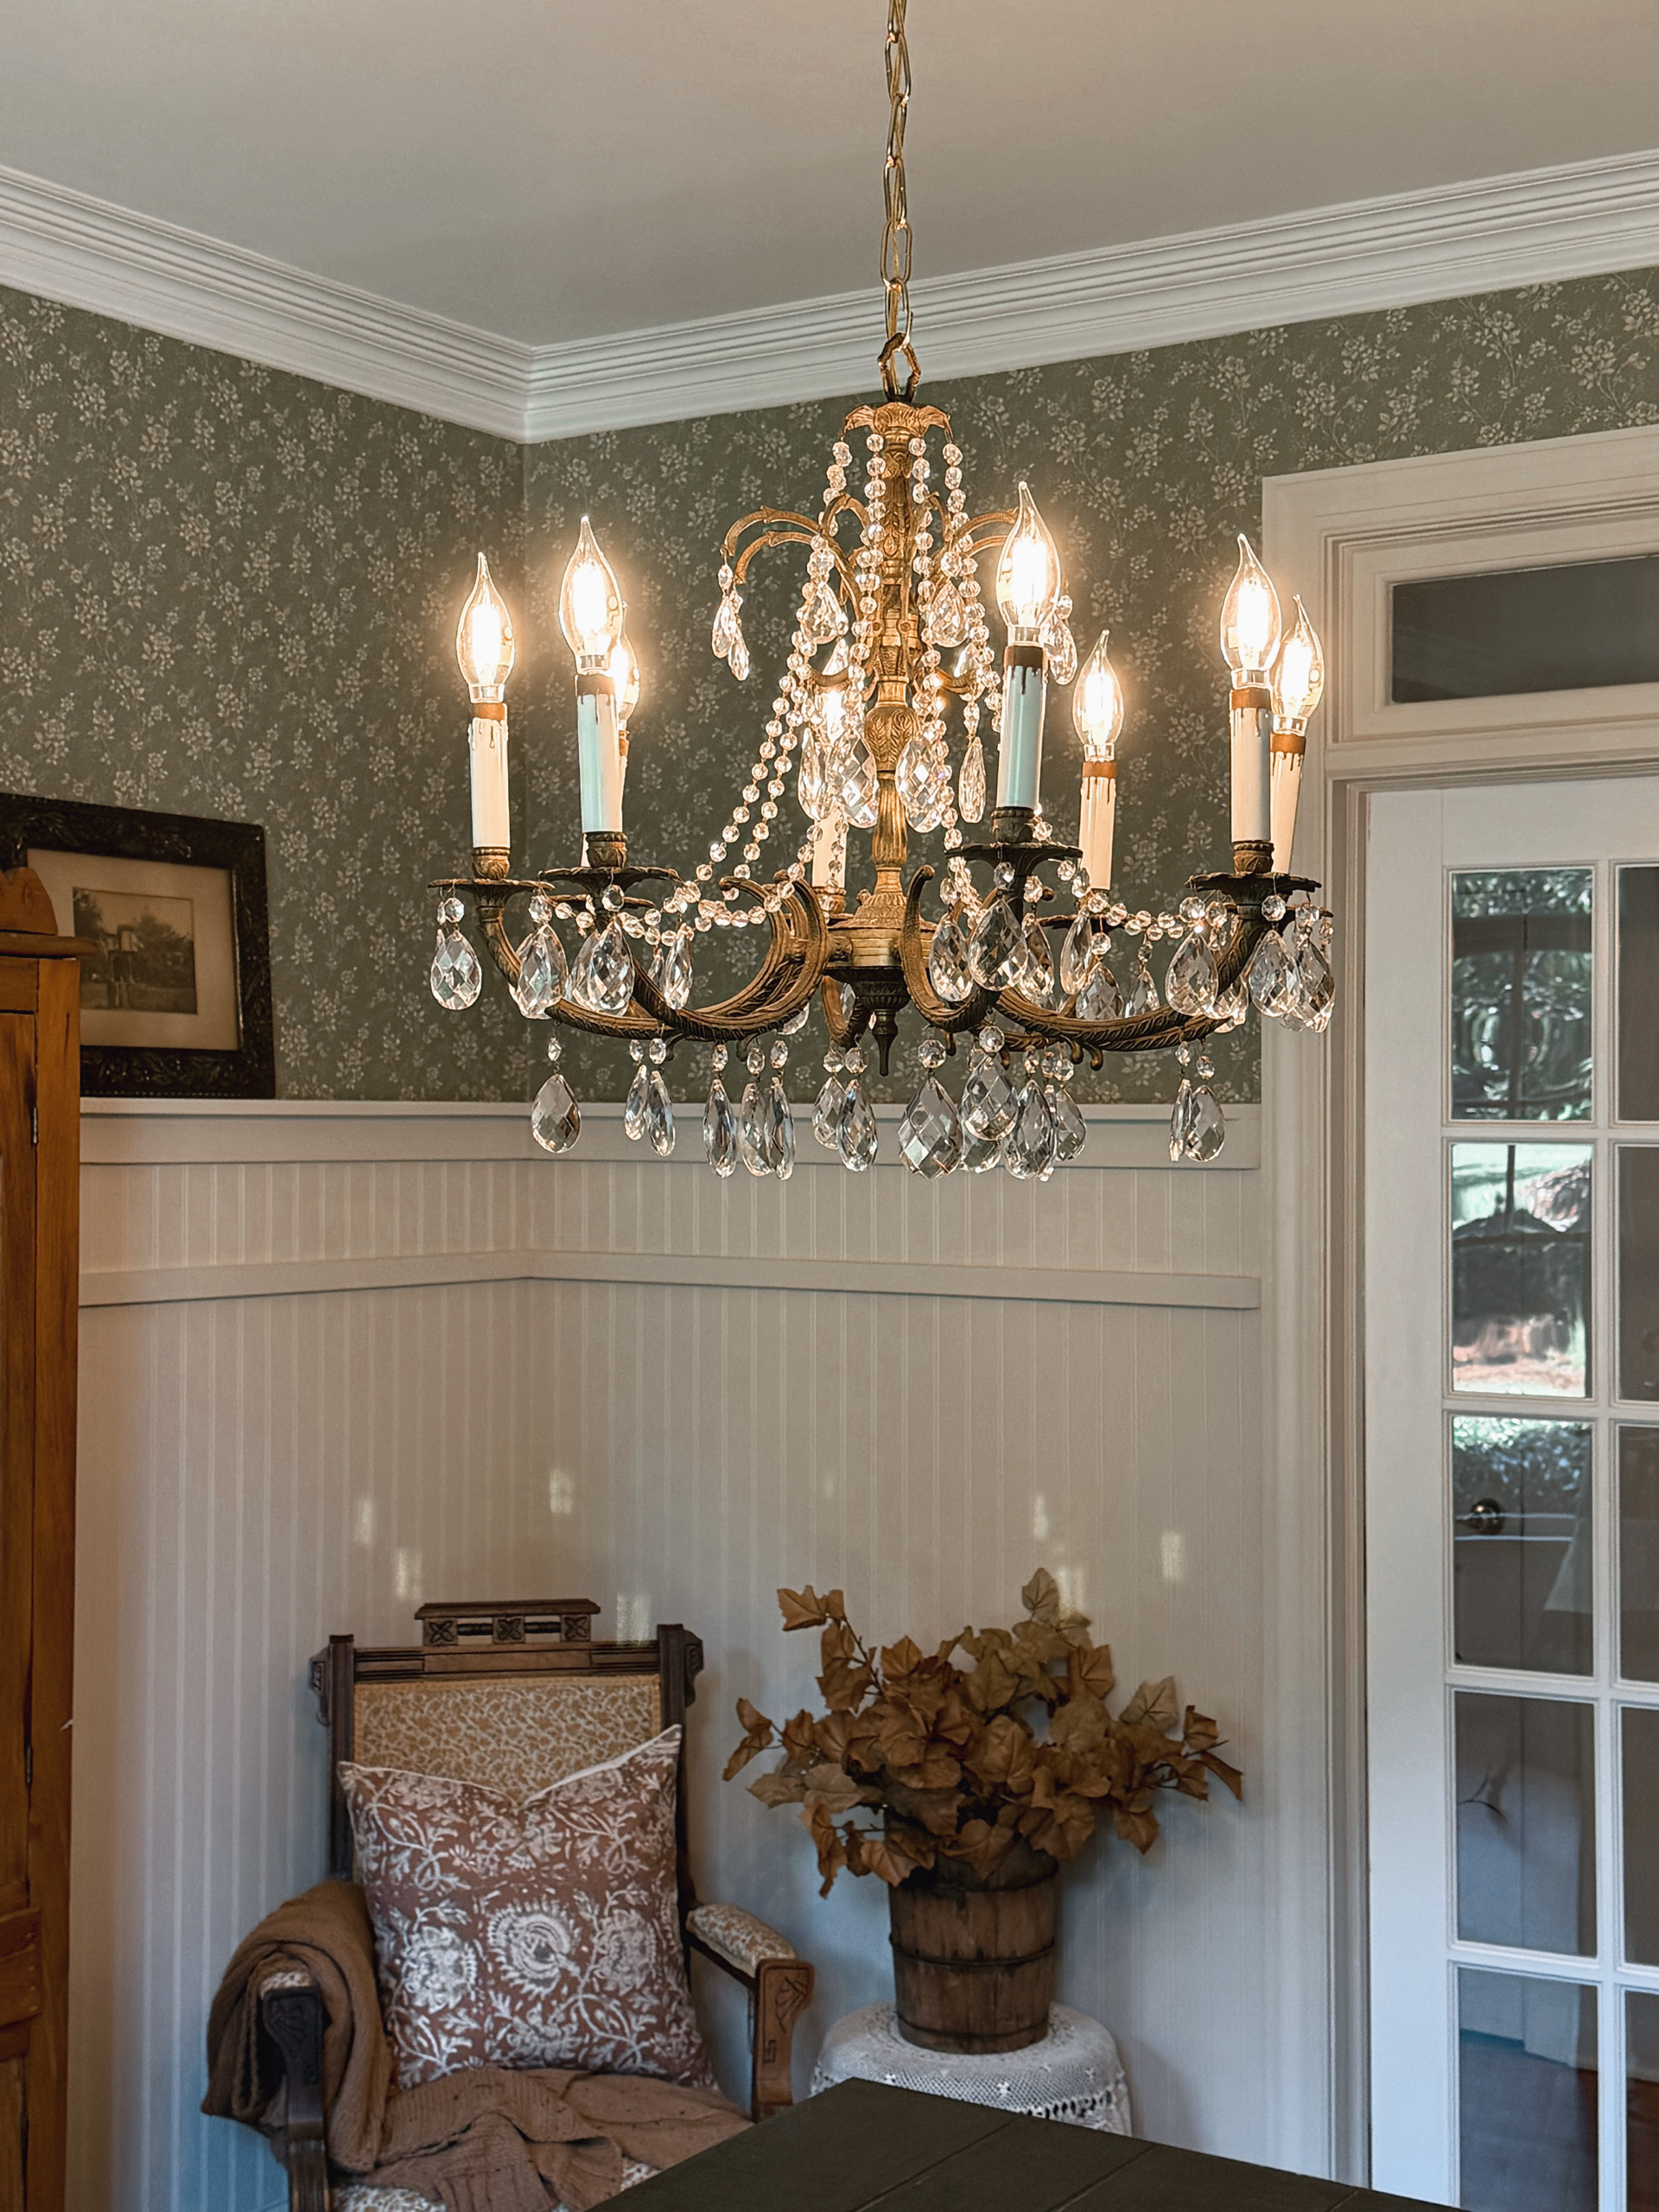
I added the appropriate light bulbs and started returning all of those beautiful crystals and bead strands to their places, using the pictures I’d taken at the beginning as my guide. With every crystal I added, my $50 Facebook Marketplace find looked a little less like the ugly duckling I’d brought home.
And when I finally turned on the lights? What a difference!
The chandelier that had once been covered in dirt and filled with tired old wiring had become a beautiful vintage statement piece for my office—and I didn’t have to paint or completely refinish a thing.
That’s one of the reasons I love decorating with flea-market and secondhand finds so much. You don’t always have to change an old piece to make it beautiful. Sometimes you simply have to uncover the beauty that’s already there.
So, the next time you spot a dirty, forgotten chandelier at a flea market, thrift store or on Facebook Marketplace, don’t be too quick to pass it by.
Your own ugly duckling just might be a showstopper waiting to shine. ❤️